
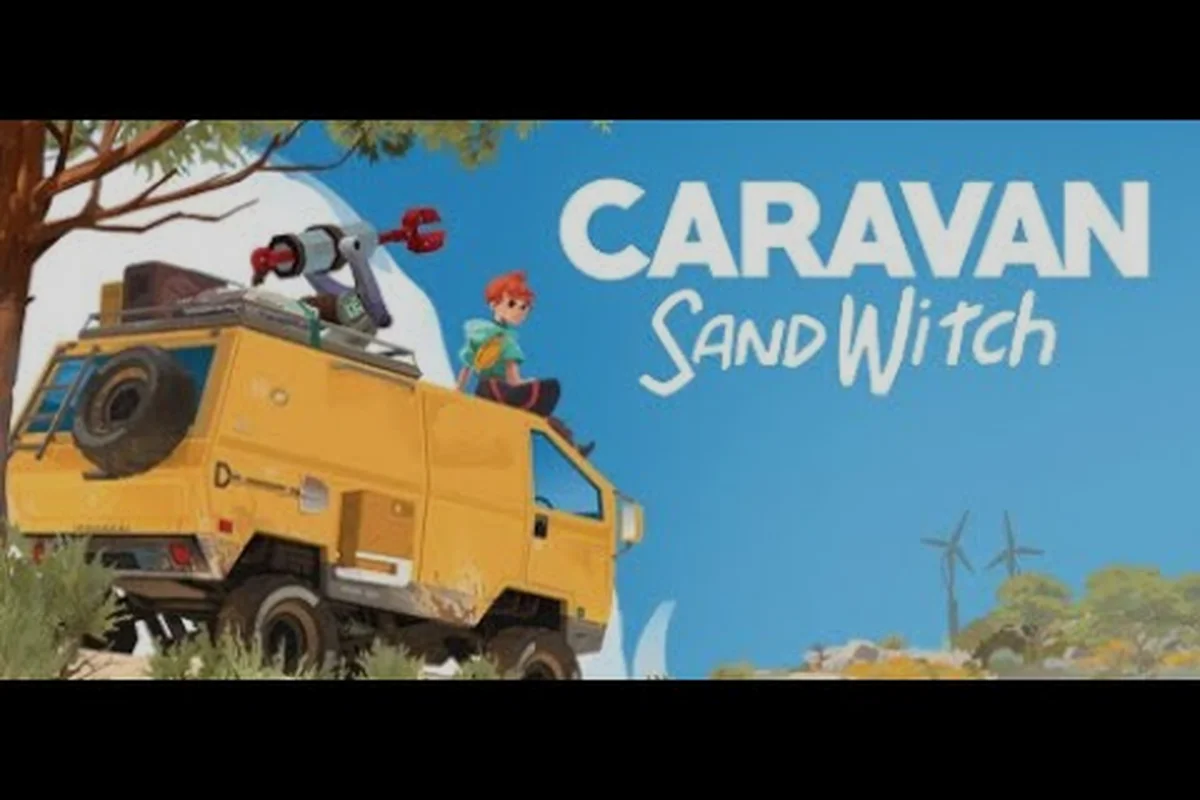
Caravan SandWitch all regions form the backbone of the journey across Cigalo, a hopeful post-apocalyptic planet where every open world location tells part of your sister Garance's story. Understanding how these zones connect and what each area demands from your van upgrades is the difference between a frustrating first hour and a smooth exploration experience. This zone guide breaks down every region, its points of interest, and the tools you need to reach them, so you can explore the world without constant backtracking.
The planet Cigalo is split into distinct biomes that unlock progressively as you complete story missions and upgrade your vehicle. While the game encourages free-roaming, certain areas remain sealed until you acquire specific equipment like the grappling hook or the energy grapple. According to the official Caravan SandWitch website, four groups inhabit this world: the Reinetos, abandoned robots, remaining humans, and the mysterious SandWitch. Each faction's territory shapes the layout of the regions you will traverse.
The Opening Zone: Estello Village and the Coastal Lowlands
Your journey begins in Estello Village, the primary hub where Sauge reunites with old friends and receives the first missions. This coastal settlement sits at the edge of a turquoise bay, with rusted shipping containers and overgrown Mediterranean-style architecture that sets the visual tone for everything that follows. The village functions as your base of operations, housing the garage where you upgrade the van and several NPCs who offer community side tasks.
The surrounding lowlands serve as a gentle introduction to the game's navigation systems. You will encounter your first antenna towers, which you must scan to reveal portions of the map, and scattered component caches that provide the Common-tier materials needed for early upgrades. Community reports indicate that most players spend their first two hours here, completing the prologue missions and gathering enough components for the initial van improvements before venturing further.
| Location | Key Feature | Tool Required | Notable Loot |
|---|---|---|---|
| Estello Village | Main hub, garage, NPC quests | None | Story progression |
| Rose's Retreat | Abandoned farmstead | None | Common components |
| Hydropost | Water treatment facility | None | Common components, lore notes |
| Coastal Cliffs | Scenic overlook | None | Cuddly toy spawns |
The Residential Area N-337 district sits just north of the starting zone, though you will need to return later with better equipment to fully explore its interiors. For a deeper breakdown of this specific district, the district guide covers its layout and hidden collectibles in detail.
The Desert Expanse: Unlocking the Second Major Biome
The Desert Unlock Threshold: Why Chapter 2 Changes Your Farming Routes
Desert access in Chapter 2 doesn't just add a biome—it redefines component economics. Before the unlock, your crafting ceiling is capped by green and red components, limiting van upgrades to base tiers. After the desert opens, Rare (yellow) components become farmable in puzzle rooms, and Exceptional (purple hexagons) appear exclusively in desert ruins, enabling the highest-tier van modifications. Practical case: a player farming Estello Village for 30 minutes nets roughly 20 green and 8 red components, while the same time in the desert yields 5 yellow and 3 purple—lower volume, exponentially higher crafting value. Prioritize desert progression before grinding any component type.
TARAASK's Point of No Return: Sauge's Departure and Ending A Lock-In
The "Rescue Plan" achievement marks the critical narrative threshold: when Sauge leaves for TARAASK with Rose, the game enters its point of no return. Completing this sequence locks you into Ending A ("The Source of the Signal"), and any unfinished region exploration—including Exceptional (purple) component farming in the desert—becomes inaccessible until a new playthrough. Before triggering this departure, verify you've collected all 26 achievements' prerequisites, particularly "Recycling" (first component), "Scanning" (first antenna scan), and "Forced Entry" (first grappling hook door rip). This is the only story branch that permanently closes content, so exhaust all side content first.
After completing the opening chapters, you gain access to the Desert Expanse, a sprawling arid region that dramatically expands the open world locations available to you. This biome introduces the energy grapple upgrade, which lets you power ancient Reinetos mechanisms and reach elevated platforms that were previously inaccessible. The desert is where the game's verticality becomes apparent, with mesas, ruined towers, and underground bunkers demanding careful route planning.
The desert also marks the first appearance of Exceptional-tier components, the purple hexagonal resources required for the most advanced van upgrades. According to the complete walkthrough on bonus-action.com, these rare materials only spawn in the desert area and need advanced tools to collect, making this region a farming hotspot for players aiming for full upgrades.
| Zone within Desert | Points of Interest | Required Upgrades | Collectibles |
|---|---|---|---|
| Dune Sea | Wrecked caravans, sandstorms | Grappling hook | Rare components |
| Mesa Plateau | Reinetos ruins, puzzle rooms | Energy grapple | Cuddly toys, lore tablets |
| Oasis Settlement | NPC outpost, side quests | None | Common components |
| Underground Bunker | Hidden laboratory | Advanced tools | Exceptional components |
Navigation through the desert requires constant attention to your van's fuel and your character's stamina, since the terrain offers few straight paths. The map markers system becomes essential here, as you will want to tag component clusters and antenna towers for efficient farming routes. If you find yourself getting lost frequently, the fast travel locations guide explains how to unlock teleport points across every region.
The Highlands: Vertical Exploration and Ancient Ruins
Component Rarity Tiers and Where to Farm Each Color in Estello Village
Common (green) components dominate Estello Village, Rose's Retreat, and Hydropost, scattered across ground, rooftops, and ruins—you can collect 10-15 in a single sweep without any upgrades. Uncommon (red) components appear on old vehicles and decommissioned robots, requiring the grappling hook to reach elevated cabs. Rare (yellow) components hide inside puzzle rooms that only open after Chapter 2's desert unlock, so don't waste time hunting them early. Exceptional (purple hexagons) never spawn here; they're exclusive to the desert biome and demand advanced tools, making early-game crafting strictly green-and-red dependent.
Zipline and Energy Grapple: The Highlands' Required Tool Loadout
The Highlands' vertical ruins are impassable without two specific upgrades: the zipline launcher and the energy grapple. The zipline connects elevated ancient ruin platforms, while the energy grapple powers emergency generators that activate door mechanisms—both are mandatory for reaching the region's Rare (yellow) component puzzle rooms. The "Emergency Generator" achievement triggers the first time you power a generator with the energy grapple, and the "Learning the Ropes" achievement unlocks on your first zipline. Without these tools, roughly 60% of Highland collectibles remain unreachable, so complete the main story quests that grant these upgrades before attempting full exploration.
The Highlands region introduces a completely different exploration philosophy, replacing the desert's horizontal sprawl with dense verticality. Ancient Reinetos architecture dominates this biome, with crumbling aqueducts, cliffside temples, and floating platforms that connect through ziplines and grapple points. This area demands mastery of the movement system, since many points of interest sit on ledges that require precise timing to reach.
The SandWitch's Domain sits at the heart of the Highlands, a mysterious area shrouded in perpetual mist where the game's central mystery unfolds. Players report that the atmosphere here shifts dramatically, with the soundtrack becoming more ambient and the lighting taking on an ethereal quality. The region houses some of the game's most challenging environment puzzles, which often require you to redirect energy beams or align ancient mirrors to open sealed doors.
| Highlands Feature | Description | Challenge Level | Reward |
|---|---|---|---|
| Aqueduct Ruins | Collapsed water channels | Moderate | Rare components |
| Cliffside Temples | Puzzle-heavy interiors | High | Lore tablets, cuddly toys |
| Floating Platforms | Zipline navigation | Moderate | Uncommon components |
| SandWitch's Domain | Story-critical area | High | Major plot revelations |
The Reinetos ruins scattered throughout the Highlands contain some of the richest loot in the game, but they also require the most preparation. Before tackling this region, ensure your van has the extended fuel tank and improved suspension, since the steep inclines and rocky terrain will drain resources quickly. The map areas guide provides a complete checklist of every hidden area and how to unlock it.
TARAASK and the Endgame Regions
The TARAASK facility represents the game's climax region, a massive industrial complex where the search for Garance reaches its conclusion. This area differs from the organic landscapes of the earlier zones, featuring sterile corridors, automated security systems, and the haunting presence of the robots left behind after the planet's exploitation. The visual contrast between TARAASK and the natural biomes reinforces the game's themes about humanity's impact on Cigalo.
Reaching TARAASK triggers the Rescue Plan mission, which the Steam community achievement guide identifies as the point of no return. Once you commit to this mission, you cannot freely explore the other regions until the story concludes, so completing all side content beforehand is essential for achievement hunters. The facility itself contains several unique collectibles, including lore entries that explain the SandWitch's true nature.
| Endgame Area | Access Condition | Key Content | Post-Game Access |
|---|---|---|---|
| TARAASK Exterior | Rescue Plan mission | Story missions | Yes, after ending |
| TARAASK Interior | Story progression | Final boss sequence | Limited |
| The Source | Final mission | Ending A/B | No |
| Post-Game Cigalo | Any ending | Free exploration | Yes |
After completing the main story, you gain the ability to explore all regions freely, which is when the true completion work begins. The cuddly toys, lore tablets, and souvenir shop items scattered across every zone become your primary objectives, and the world map guide offers a comprehensive overview of all locations to help you plan your post-game route.
Navigation Strategies and Tool Requirements by Region
Understanding which tools each region demands prevents frustrating dead ends and wasted trips. While the game does an excellent job of visual storytelling through its environment design, some areas remain opaque about their requirements until you attempt to enter them. The table below summarizes the essential equipment for each major biome.
| Region | Essential Tool | Recommended Van Upgrade | Common Mistake |
|---|---|---|---|
| Coastal Lowlands | Scanner | Standard van | Ignoring antenna scans |
| Desert Expanse | Energy grapple | Extended fuel tank | Missing Exceptional components |
| Highlands | Grappling hook | Improved suspension | Skipping puzzle rooms |
| TARAASK | Advanced tools | Full upgrade | Triggering point of no return early |
The scanner remains your most valuable navigation tool throughout the game, revealing not only map details but also highlighting interactive elements and hidden caches within a certain radius. Make a habit of scanning every new area upon arrival, since the information persists on your map and reduces the need for backtracking later. Community testing suggests that scanning also contributes to the "Scanning" achievement, which tracks your first antenna scan and subsequent discoveries.
For movement optimization, prioritize unlocking the sprint upgrade and climbing enhancements early, as they dramatically reduce travel time across all regions. The open world guide covers movement mechanics in depth, including how to chain sprint, jump, and grapple for maximum efficiency.
Frequently Asked Questions
How many regions are there in Caravan SandWitch?
The game features four major biomes: the Coastal Lowlands around Estello Village, the Desert Expanse, the Highlands, and the TARAASK facility. Each region contains multiple distinct zones and points of interest, bringing the total explorable area to roughly 12-15 named locations across the planet Cigalo.
Can I explore all regions from the start?
No, the game gates regions behind story progression and van upgrades. The Desert Expanse unlocks after Chapter 1, the Highlands after Chapter 2, and TARAASK during the final mission. Attempting to reach locked areas early will result in impassable barriers or environmental hazards that require specific tools.
What is the best order to explore the regions?
Follow the main story progression for your first playthrough, since each region introduces new mechanics and tools naturally. For completion runs, sweep each region fully before advancing, gathering all collectibles and completing side quests before triggering the Rescue Plan mission, which locks you out of free exploration until the ending.
Are there any hidden regions not marked on the map?
Yes, several hidden areas exist throughout Cigalo, including underground bunkers in the desert and secret rooms in the Highlands. These locations typically require solving environmental puzzles or using advanced tools to access, and they often contain Exceptional components or unique lore entries that flesh out the world's backstory.
Do regions change after the ending?
After completing the story, you can freely explore all regions with every tool unlocked. Some NPCs move or offer new dialogue, and certain areas become accessible that were previously blocked. However, the core layout and collectible placements remain unchanged, so your pre-ending exploration progress carries over completely.