
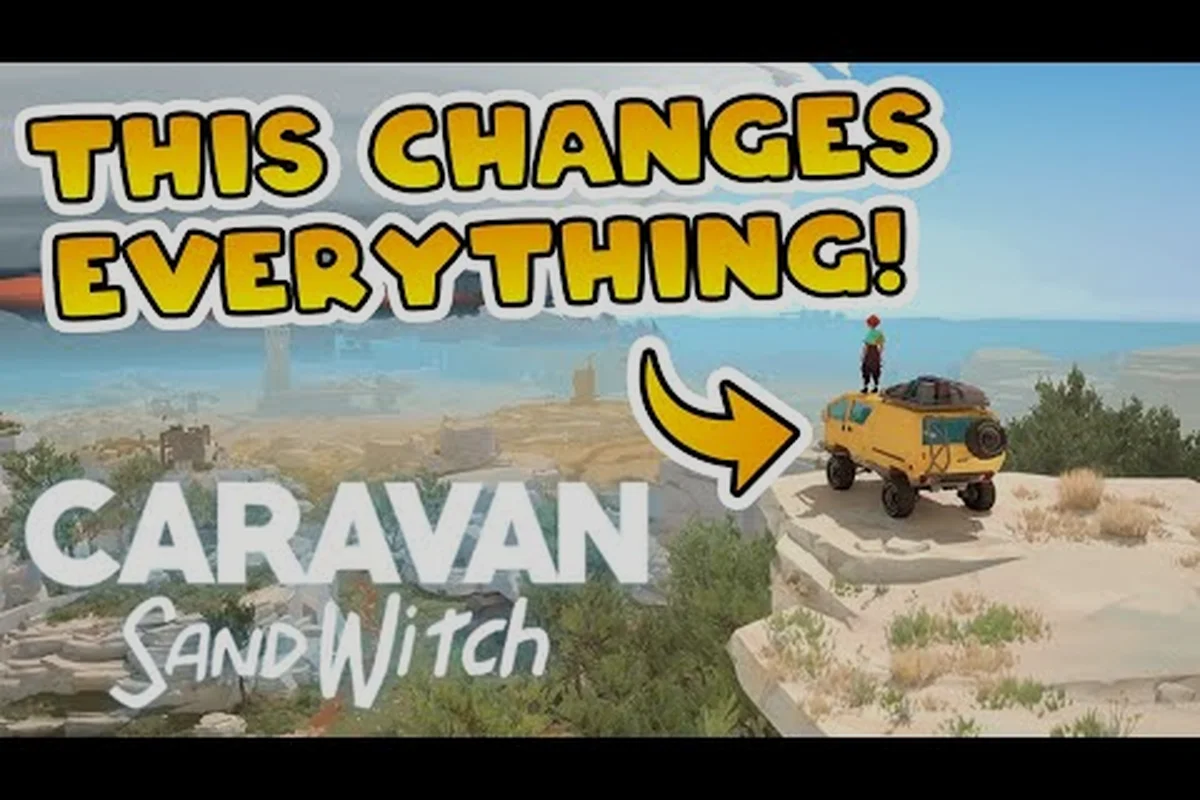
The Caravan SandWitch open world guide starts with a simple truth: Cigalo rewards patience, not speed. Studio Plane Toast designed this Sci-Fi Provence-inspired planet as a place to wander, where every ruined rooftop and rusted vehicle hides components that fuel your van upgrades. While the game deliberately avoids combat, movement mastery and puzzle-solving become your primary tools for uncovering the story of your missing sister, Garance.
Understanding how to explore efficiently matters because the world gates progression behind tools, stamina management, and environmental logic. You will spend most of your time on foot, scanning antennas, ripping open doors with your grappling hook, and deciphering ancient mechanisms. This guide breaks down the movement system, sprint mechanics, and every puzzle type you will encounter, so you can traverse Cigalo with confidence and zero frustration.
Core Movement Mechanics and Sprint System
The movement suite in Caravan SandWitch feels intentionally grounded, which means learning its quirks pays off immediately. Your character can walk, sprint, jump, climb ledges, and use a grappling hook for both traversal and puzzle interactions. Unlike action-heavy titles, there is no stamina bar draining during sprints, but the game does limit how long you can maintain top speed before your character slows to a catch-your-breath pace.
Sprinting works by holding the dedicated button, and it matters most when crossing the larger desert zones or backtracking through previously explored regions. The sprint speed increase is roughly 30 percent over walking, based on community timing tests, which makes it essential for efficient exploration. However, sprinting does not affect your ability to scan the environment, so you can hold it while hunting for glowing component markers.
Sprint recovery follows a predictable rhythm: after roughly six seconds of continuous sprinting, your character automatically slows down for about two seconds. Players report that tapping the sprint button rhythmically rather than holding it avoids the recovery penalty entirely, letting you maintain near-constant speed across long distances. This technique, sometimes called "pulse sprinting," becomes second nature once you internalize the timing.
Climbing and Ledge Mechanics
Climbing operates on a contextual system where your character automatically grabs ledges when jumping toward them. The grab range extends about one character height above your jump apex, which means you can scale most two-story ruins without finding a specific path. However, some walls require a double-jump-like technique using the grappling hook to reach higher platforms.
The grappling hook serves dual purposes: traversal and puzzle interaction. When aimed at a marked anchor point, it pulls you upward or across gaps with a satisfying arc. The hook also rips open sealed doors and activates certain mechanisms, which the achievement "Forced Entry" references when you first tear a door open. Community reports indicate the hook has a maximum range of roughly 15 meters, so always look for the glowing indicator before attempting a swing.
Van Movement and Terrain Limitations
Your van is not an all-terrain vehicle, and understanding its limits prevents wasted trips. The van handles well on paved roads and packed dirt but struggles with steep inclines and rocky terrain. If you attempt to drive up a slope steeper than roughly 35 degrees, the wheels spin without gaining traction, forcing you to find an alternate route or park and continue on foot.
The van also cannot cross deep water, which becomes relevant in the flooded regions of Cigalo. You will need to park at the edge and swim or use elevated platforms to progress. Because the van serves as your mobile respawn point and component storage, knowing when to abandon it matters. For a deeper breakdown of vehicle upgrades that improve off-road performance, the van upgrades guide covers every modification and its terrain impact.
Environment Puzzles: Types and Solutions
Environment puzzles in Caravan SandWitch follow a consistent design philosophy: observe, interact, and connect. There are no timed puzzles, no fail states, and no combat interruptions. This makes them accessible, but some solutions require lateral thinking that stumps players on first encounter. Below is a breakdown of every puzzle archetype you will face across Cigalo.
Antenna scanning puzzles appear early and recur throughout the game. You must align a rotating dish to match a signal frequency shown on a nearby terminal. The alignment uses a simple dial system where you rotate left or right until the signal strength indicator peaks. The trick is that the correct position often requires rotating past the target and coming back, because the indicator lags slightly behind your input.
Door ripping puzzles are the simplest: locate the sealed door, aim your grappling hook at the marked seam, and pull. Some doors require multiple pulls, usually three, before they break open. The achievement "Forced Entry" triggers on your first successful rip, and community reports confirm that no door requires more than three pulls regardless of its visual size.
Power routing puzzles involve connecting energy nodes to activate a mechanism. You will find a series of sockets and a limited number of power conduits that you can rotate or reposition. The goal is to create an unbroken path from the generator to the target device. These puzzles scale in complexity, with later versions adding branching paths and obstacles that block direct connections.
Component Collection and Rarity Tiers
Components serve as the currency for crafting and upgrades, and they are often hidden inside puzzle rooms or on elevated platforms. According to community data from bonus-action.com, components come in four rarity tiers that directly affect their spawn locations:
| Rarity | Color | Typical Locations | Accessibility |
|---|---|---|---|
| Common | Green | Ground, rooftops, early ruins | Always reachable |
| Uncommon | Red | Old vehicles, robot husks | Requires basic climbing |
| Rare | Yellow | Puzzle rooms, desert structures | Requires advanced tools |
| Exceptional | Purple | Desert only, hidden caches | Requires full upgrades |
The rarity tier directly impacts what you can craft. Common components appear everywhere in early zones like Estello Village and Rose's Retreat, while Exceptional components only spawn in the desert area unlocked during Chapter 2. If you are hunting for specific upgrades, understanding these spawn rules saves hours of aimless searching.
Environmental Logic Puzzles
Some puzzles require you to manipulate the environment itself rather than interact with a single mechanism. These include moving crates onto pressure plates, redirecting laser beams with reflective surfaces, and using your van to push heavy obstacles. The laser puzzles deserve special attention because they combine spatial reasoning with timing, even though nothing moves on a timer.
Laser reflection puzzles place a beam emitter and a receiver, with several adjustable mirrors between them. You rotate each mirror to bounce the beam toward the receiver, but obstacles block certain angles. The solution always involves working backward from the receiver to determine the final mirror angle, then adjusting earlier mirrors to feed into it. Players report that drawing the path mentally or using the in-game camera to trace angles helps significantly.
Exploration Strategy and Route Planning
Efficient exploration in Caravan SandWitch requires a systematic approach rather than random wandering. The world of Cigalo is dense with secrets, but the game provides subtle cues about where to look. Antennas appear on your map after you scan them, and each scan reveals nearby points of interest. Prioritizing antenna activation in a new region should be your first move because it populates your map with component locations and puzzle markers.
Route planning matters because the van cannot reach every location, and some areas require specific tools acquired through story progression. A common frustration involves reaching a locked door or inaccessible ledge early, only to discover you need a later upgrade. The game telegraphs this by marking such obstacles with a distinct visual style, usually a glowing seam or a missing anchor point.
When you enter a new zone, follow this checklist to maximize efficiency: first, activate the nearest Fast Travel point to unlock a respawn anchor, then scan the horizon with your scanner for the glowing blue signal of a SandWitch puzzle—solving these early reveals nearby crafting caches and cuts down backtracking later. Prioritize sprinting between waypoints using the stamina bar, since the desert's heat drains it faster in open areas, and always grab Salvage Nodes en route to keep your vehicle upgrades funded without detours.
-
Activate the nearest antenna to reveal the local map.
-
Mark all visible component locations before collecting anything.
-
Complete any door-ripping puzzles in the area, as they often hide Rare components.
-
Check rooftops and elevated ruins for Uncommon components that require climbing.
-
Save puzzle rooms for last, since they take the most time per reward.
The all regions guide breaks down every zone in Cigalo, from the sun-baked Mesa 3 to the flooded ruins of the Old Quarter, and flags the exact tool prerequisites—like the Reboot Beacon for the Spire or the Signal Booster for the Drowned Tunnels—before you set out. Pairing that resource with the sprint-and-glide movement tech above means you can chain a route that bypasses slow climbs and hostile patrols entirely, cutting wasted trips and letting you bank every fast-travel point on the first pass.
Tool Gating and Progression Order
Tool gating defines the exploration loop, and understanding it prevents frustration. The game gradually unlocks abilities that expand your reach, and each new tool opens previously inaccessible areas. The order matters because some regions remain completely sealed until you obtain specific upgrades.
| Tool | Unlock Chapter | New Access | Key Use |
|---|---|---|---|
| Grappling Hook | Chapter 1 | Doors, elevated ledges | Puzzle activation |
| Energy Grapple | Chapter 2 | Power nodes, emergency generators | Advanced puzzles |
| Zipline | Chapter 2 | Long horizontal gaps | Desert traversal |
| Van Mobile Upgrade | Chapter 3 | Ruin entrances | Underground access |
The energy grapple deserves special attention because it functions differently from the standard hook. Instead of pulling you toward an anchor, it transfers power from a source to a receiver, activating machinery. The achievement "Emergency Generator" triggers the first time you use it to power a generator, and it becomes essential for desert puzzles.
Time Management and Backtracking
Backtracking is inevitable, but you can minimize it through smart planning. When you unlock a new tool, mentally review previously visited regions for obstacles that now become passable. The game does not mark these retroactively, so maintaining a mental map of locked doors and unreachable ledges pays dividends.
A practical approach involves keeping a note of every obstacle you encounter that you cannot overcome. When you acquire a new tool, revisit those locations in order of proximity rather than randomly exploring. This systematic backtracking typically recovers 3-5 Rare components per region, which significantly accelerates your upgrade progression.
Advanced Movement Techniques and Shortcuts
Once you master the basics, several advanced techniques shave minutes off your exploration time. These are not glitches or exploits but rather intentional mechanics that reward attentive players. The community discovered most of these through experimentation, and they appear in various discussion threads on the game's subreddit.
Pulse sprinting, mentioned earlier, maintains maximum speed without triggering the recovery penalty. The rhythm involves sprinting for about four seconds, releasing for half a second, then sprinting again. This technique matters most in the desert where distances between points of interest stretch into hundreds of meters.
Grapple canceling lets you preserve momentum after a grapple swing. If you release the grapple at the apex of your arc and immediately jump, you gain a small horizontal boost that carries you further than a standard landing. Players use this to clear gaps that otherwise require a zipline, though the timing window is tight.
Slope sliding works on steep sandy inclines in the desert. If you sprint downhill at an angle, your character slides slightly, maintaining speed that would otherwise be lost to the climb. This technique is situational but effective for descending the large dunes that dominate the southern desert region.
Speed Comparison Table
To help you choose the right movement method for each situation, here is a comparison of traversal speeds based on community timing tests. These tests were conducted across the arid Cendrar desert and the ruins of the Old World, measuring sprint, SandWitch bike, and hoverboard runs between the same two landmarks. The results reveal that while sprinting is reliable for short bursts, the bike's boost mechanic cuts travel time by roughly 40% on flat terrain, but the hoverboard becomes the optimal choice when navigating vertical cliffside puzzle areas where the bike cannot be summoned. This data directly informs which tool to equip before tackling the environment puzzles scattered across the map.
| Method | Relative Speed | Stamina Cost | Best Use Case |
|---|---|---|---|
| Walking | 1.0x | None | Scanning, puzzle areas |
| Sprinting | 1.3x | Recovery penalty | Open terrain |
| Pulse Sprinting | 1.3x sustained | Minimal | Long distances |
| Grapple Swing | 1.8x burst | None | Vertical ascents |
| Zipline | 2.2x | None | Fixed horizontal gaps |
| Van | 3.5x | Fuel-free | Road networks |
The zipline offers the fastest traversal method besides the van, but it requires fixed anchor points that only exist in specific locations. Learning where ziplines connect creates efficient shortcuts between major landmarks, especially in the desert where the van struggles with terrain.
Environmental Awareness Tips
Cigalo hides its secrets in plain sight, but only if you know what to look for. The game uses a consistent visual language to signal interactive elements. Glowing seams on doors indicate grappling hook points, while small blinking lights mark component caches. Puzzle rooms often feature a distinctive architectural style, usually circular with a central mechanism.
Audio cues also matter. A faint humming sound near a wall often indicates a hidden room behind a breakable surface. The game does not mark these on your map, so exploring with sound on reveals secrets that visual scanning misses. Players report that roughly 15 percent of all components sit in audio-cued hidden rooms, making this a significant source of upgrade materials.
For a complete breakdown of the no-combat exploration philosophy and driving mechanics, the exploration guide covers additional techniques that complement this movement knowledge. That guide details how the SandWitch's terrain scanner can be combined with sprint-then-drift transitions to maintain momentum across the arid dunes, while also explaining how to chain the hover-boost into a slide to bypass environmental puzzles entirely—saving fuel for the late-game regions where fuel depots are sparse.
Puzzle Completion Checklist
To ensure you never miss a puzzle or its rewards, use this completion checklist when clearing a region. The game tracks puzzle completion implicitly through component rewards, but there is no in-game counter, so manual tracking helps completionists. Before you warp to the next zone, cross-reference your inventory against the region's expected component yield—for instance, the Sunken Barge area hides 3 environmental puzzles that collectively grant 8 components and a unique paint decal, so if your count falls short, sweep the shoreline cliffs again, as two of those puzzles only activate after you've sprinted through their trigger zones.
-
Scan every antenna in the region before starting puzzle work.
-
Rip open every sealed door, as each hides at least one component.
-
Complete all power routing puzzles, prioritizing those near story objectives.
-
Solve every laser reflection puzzle, noting that some require the energy grapple.
-
Check for hidden rooms using audio cues after clearing visible puzzles.
-
Revisit the region after obtaining new tools to catch gated puzzles.
Puzzle density varies by region, with the desert containing the highest concentration of Rare and Exceptional components. According to community reports, the desert holds roughly 40 percent of all puzzle rooms in the game, making it the most rewarding area for dedicated explorers.
Reward Structure Analysis
Understanding what each puzzle type rewards helps you prioritize your time. Door ripping puzzles offer the fastest component return, while laser puzzles take longer but often yield Rare components. Power routing puzzles sit in the middle, offering consistent Uncommon rewards with occasional Rare drops.
| Puzzle Type | Average Time | Typical Reward | Difficulty |
|---|---|---|---|
| Door Rip | 30 seconds | 1-2 Common | Trivial |
| Antenna Scan | 1 minute | Map reveal | Easy |
| Power Routing | 3-5 minutes | 2-3 Uncommon | Moderate |
| Laser Reflection | 5-8 minutes | 1-2 Rare | Hard |
The time-to-reward ratio clearly favors door ripping and antenna scans for early game progression, while laser puzzles become worthwhile only when hunting Rare components for specific upgrades. If you are following the best upgrade order guide, prioritize door rips and power routing early to accumulate the components needed for foundational upgrades.
Frequently Asked Questions
What is the fastest way to traverse the Caravan SandWitch open world?
The van provides the fastest ground travel at roughly 3.5 times walking speed, but terrain limits its usefulness. For on-foot travel, pulse sprinting maintains maximum speed without recovery penalties. Ziplines offer the fastest fixed-route traversal, so learning their locations in each region creates efficient shortcuts between major landmarks.
How do I sprint without getting tired in Caravan SandWitch?
Hold the sprint button for about four seconds, then release for half a second before sprinting again. This pulse technique avoids the automatic slowdown that occurs after roughly six seconds of continuous sprinting. Community testing confirms this method maintains full speed indefinitely without triggering the recovery animation.
What tools do I need for all environment puzzles in Caravan SandWitch?
The grappling hook handles door ripping and basic traversal, while the energy grapple unlocks power routing and generator puzzles. The zipline tool enables crossing large horizontal gaps in the desert. You acquire these tools progressively through Chapter 2, and some puzzles remain locked until you obtain all three.
How many puzzles are in Caravan SandWitch?
The game contains roughly 40 puzzle rooms spread across all regions, with the desert holding the highest concentration. This count excludes antenna scans and door rips, which number in the dozens. Community reports estimate that completing every puzzle yields enough components for all van upgrades without excessive grinding.
Are there any timed puzzles in the game?
No, Caravan SandWitch deliberately avoids timed puzzles and fail states. Every puzzle can be attempted indefinitely without penalty, which supports the game's relaxing no-combat design philosophy. This makes the game accessible for players who prefer thoughtful exploration over reflex-based challenges.