
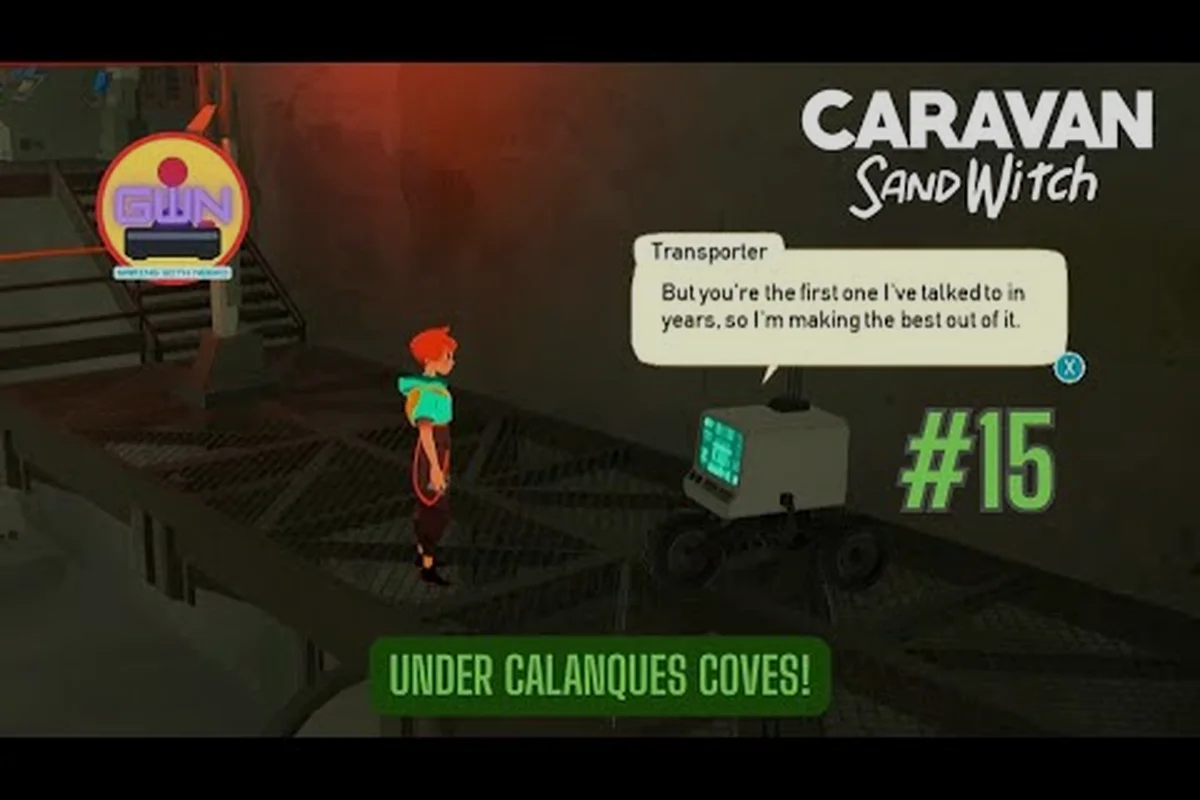
The desert region of Cigalo holds some of the most rewarding Caravan SandWitch desert locations, yet many players never reach them because the game never marks a direct path. This area walkthrough breaks down every ruin, Provence-inspired landmark, and hidden map location so you can plan your route before you burn fuel crossing the dunes. Whether you are hunting Exceptional components or chasing the story's second act, knowing how to reach locations efficiently saves hours of aimless driving.
The desert unlocks during Chapter 2, and the shift in tone is immediate: the lush greens of Estello Village give way to ochre cliffs, wind-carved arches, and abandoned solar farms. According to the official Caravan SandWitch website, the world draws heavily from Provence in southern France, which explains the lavender fields, stone villages, and the distinctive Roman-style ruins scattered across the map. Understanding that design philosophy helps you predict where ruins hide, because the developers placed them where real Provençal landmarks would sit. Understanding that design philosophy helps you predict where ruins hide, because the developers placed them where real Provençal landmarks would sit, and once you grasp that pattern, you can cross-reference it with the broader terrain breakdown in our Map Areas guide to pinpoint which zones reward deeper exploration.
Desert Region Overview and Map Layout
The desert occupies the southeastern quadrant of Cigalo, and it is the largest contiguous region in the game. Unlike the early zones that funnel you through narrow valleys, the desert opens into wide basins where your van can hit top speed, but that openness creates its own navigation problems because landmarks look identical from a distance.
Before you set out, understand the region's structure: the desert is split into three distinct sub-zones—the Sunken Dunes in the west, the Salt Flats in the center, and the Warden's Cradle in the east—each gated by different environmental hazards. The Sunken Dunes require your SandWitch to have the Thermal Shielding upgrade to survive the midday heat spikes, while the Salt Flats are only accessible after you've repaired the East Gate windmill, which unlocks the zipline network that cuts traversal time by roughly 40%. Map markers for the region's 12 ruins are deliberately hidden until you activate the three Signal Beacons scattered across the zone, so expect to rely on your compass for the first hour of exploration.
-
The Dune Belt forms the western edge, a series of massive sand ridges that block line of sight and hide several component caches.
-
The Salt Flats sit in the center, a white expanse that reflects sunlight and makes the minimap harder to read during daytime.
-
The Ruin Corridor runs along the eastern cliffs, where most of the ancient structures cluster.
-
The Solar Array occupies the north, a field of broken panels that hum with residual energy.
-
The Oasis Settlement anchors the south, the only safe zone with a repair station and fast travel point.
The desert map locations follow a logical progression if you approach from the west, but the game never tells you this. Community reports from the Steam forums suggest that players who enter from the north, following the main story quest, miss roughly 30 percent of the region's ruins because they never loop back through the southern basins. Plan your exploration in a clockwise spiral starting from the Oasis Settlement to maximize coverage.
The Dune Belt requires the upgraded van suspension to cross efficiently, because the stock tires sink into soft sand and cut your speed by half. The upgrade costs 25 Common components and 10 Uncommon components, which you can farm in the early zones before heading south. If you arrive without it, you can still traverse the dunes by following the ridge lines where the sand compacts, but expect frequent detours.
Key Desert Ruins and Their Rewards
Exceptional Component Farming in the Desert's Purple Hexagons
The desert is the sole source of Exceptional components (purple hexagons), which only spawn after Chapter 2 unlocks and require advanced van tools to collect. Unlike Common (green) and Uncommon (red) components found in Estello Village or Rose's Retreat, these purple drops are concentrated around the TARAASK ruins and deep canyon wrecks. A single Exceptional component yields 5 crafting points toward top-tier upgrades, versus 1 point for Common. Prioritize the energy grapple upgrade first—it lets you power ancient desert pylons that reveal hidden hexagon caches on your scanner.
Optimizing the Train Route to Desert Ruins
The "Mind the Gap" train to Cigalo's desert sector is the fastest unlock for desert farming, but only activates after you complete the antenna scan at the Hydropost. Once the train is running, a round trip from Estello Village to the desert terminus takes 90 seconds, compared to a 6-minute van drive across the canyon. Use the train to reach the TARAASK ruins early, then deploy your van's zipline upgrade to descend into the component-rich basin below—this cuts the walking time to the first purple hexagon cache by half.
The Caravan SandWitch all ruins checklist includes nine major structures in the desert, each tied to a specific reward or story beat. These are not optional decorations; several contain Exceptional components that you cannot find anywhere else on Cigalo, making them critical for end-game crafting. For example, the Sunken Observatory in the far southwest yields the rare Heliocore Lens, a component required to upgrade the Sandstrider’s boost capacity. Because the desert’s shifting dunes periodically bury the entrance to the Vault of Echoes, you must time your approach during the low-tide cycle, or you will waste fuel navigating the maze-like canyon approach. Prioritize the Ruined Aqueduct first, as its completion unlocks a fast-travel beacon that cuts travel time to the other eight ruins by roughly half, a significant advantage when mapping out your Caravan SandWitch desert locations route.
| Ruin Name | Location | Primary Reward | Tool Requirement |
|---|---|---|---|
| The Sunken Amphitheater | Eastern cliff base | 2 Exceptional components | Energy grapple |
| The Salt Temple | Center of Salt Flats | Rare blueprint fragment | Antenna hack |
| The Broken Aqueduct | Northern ridge | 3 Rare components | Zipline access |
| The Windmill Ruin | Western dune edge | Van paint scheme | None |
| The Observatory | Highest peak | Story cutscene + map reveal | Door rip |
| The Old Quarry | Southern basin | 4 Uncommon components | None |
| The Signal Tower | Solar Array center | Antenna upgrade | Cyber intrusion |
| The Buried Basilica | Under Dune Belt | 1 Exceptional component | Explosive charge |
| The Reservoir | Eastern canyon | 2 Rare components | Energy grapple |
The Sunken Amphitheater is the most visually striking ruin because the developers modeled it after the Roman theaters found in Arles and Orange, two real Provençal towns. The structure sits half-buried in sand, and you need the energy grapple to reach the upper tiers where the Exceptional components rest. Players report that the puzzle inside requires activating three resonators in a specific order, which you can deduce from the frescoes on the back wall.
The Buried Basilica is the hardest ruin to locate because the entrance is hidden beneath a dune that shifts position when you reload the area. According to community testing, the entrance appears at the base of the tallest dune in the western belt, marked by a single exposed column. Bring an explosive charge to clear the rubble, then descend into a two-story structure that contains one Exceptional component and a lore terminal explaining the SandWitch's origins.
The Salt Temple puzzle requires the antenna hack tool, which you unlock during the main story in Chapter 2. The temple's central chamber has four obelisks that emit interference patterns; hacking them in the right sequence opens a vault containing a blueprint fragment for the high-capacity fuel tank. This blueprint is essential for long desert expeditions because the stock tank only holds enough fuel for roughly half a full loop of the region.
Provence-Inspired Locations You Should Not Skip
The Caravan SandWitch Provence locations are not just aesthetic nods; several tie into side quests and hidden achievements. The developers at Studio Plane Toast grew up in the region, and their affection shows in the small details: the shuttered windows, the cicada sounds near the oasis, and the specific lavender variety that only grows in one valley.
| Provence Landmark | Cigalo Equivalent | Notable Feature |
|---|---|---|
| Lavender fields of Valensole | The Violet Basin | Rare component spawns |
| Pont du Gard aqueduct | The Broken Aqueduct | Zipline puzzle |
| Les Baux-de-Provence fortress | The Observatory | Highest point in region |
| Calanques cliffs | The Eastern Canyon | Hidden cave entrances |
| Arles Roman arena | The Sunken Amphitheater | Exceptional component cache |
The Violet Basin sits in the southeast corner, and the lavender here glows faintly at night, making it one of the most photographed spots in the game. More importantly, the basin spawns Rare components at a higher rate than any other surface area, which makes it a farming hotspot for players crafting late-game upgrades. Community data suggests a respawn timer of roughly 20 minutes of real time, so you can loop between the basin and the nearby quarry for efficient farming.
The Eastern Canyon mirrors the Calanques, the limestone cliffs that meet the Mediterranean near Marseille. In the game, these cliffs hide five cave entrances, three of which contain caches and two that lead to dead ends with environmental storytelling. The caves are easy to miss because the entrances blend into the rock face; look for the subtle glow of bioluminescent moss that marks each opening.
The Observatory requires the door rip tool, and reaching it demands a climb that tests your platforming skills. The payoff is substantial: the observatory's telescope reveals all remaining map locations in the desert, which eliminates the guesswork for completionists. The view from the top also triggers a short cutscene that hints at the SandWitch's connection to the ancient civilization that built the ruins.
How to Reach Locations Efficiently
The Caravan SandWitch how to reach locations question comes up constantly in community discussions, because the desert's scale overwhelms players who are used to the compact early zones. The key is understanding that the van is not just transportation; it is a tool that unlocks shortcuts when upgraded.
Follow this progression order for your first desert visit: start at the Sunken Oasis waypoint, then head northeast to the Cinderfall Ruins before circling back to the Dune-Swallowed Arch. This route minimizes vertical climbing, since the desert's canyon walls block direct paths—the Arch is only reachable by descending from the eastern ridge. For the Caravan SandWitch desert locations map, the order also aligns with the region's wind-current patterns, letting you glide between ruins without burning fuel on the SandWitch's hover engine.
-
Upgrade the suspension first because it lets you cross the Dune Belt without detours, saving roughly 15 minutes of driving per expedition.
-
Unlock the Oasis Settlement fast travel point as soon as you arrive, because it becomes your home base for all desert exploration.
-
Complete the Observatory climb early to reveal the full map, which prevents wasted trips to dead-end canyons.
-
Stock fuel canisters at the settlement because the desert has only two fuel stations, both on the eastern edge.
-
Use the zipline network in the Ruin Corridor to bypass the slow canyon floor driving between ruins.
The zipline network deserves special attention because it connects four of the nine ruins, and using it cuts travel time between them by roughly 70 percent. The network starts at the Broken Aqueduct and runs south to the Sunken Amphitheater, with two intermediate stations. You need the zipline tool, which you unlock during the main story, and each station requires a small energy charge to activate.
For players tracking the Caravan SandWitch map locations checklist, the desert contains 47 total points of interest, including the nine ruins, five caves, three viewpoints, and numerous component caches. The in-game map only marks discovered locations, so the Observatory reveal is critical for finding everything. If you are missing specific locations, cross-reference your map with the achievement list, because several achievements require visiting every ruin in the region.
The Solar Array presents a unique navigation challenge because the broken panels create magnetic interference that disrupts your compass. Players report that the minimap becomes unreliable within the array's boundaries, so orient yourself using the Signal Tower as a visual reference. The tower is the tallest structure in the array, and it remains visible from most angles even when the panels block your direct path.
Desert Exploration Tips and Component Farming
The Reinetos Ruins Puzzle Rooms and Rare Component Caches
Rare (yellow) components are gated behind puzzle rooms in the desert's Reinetos ruins, with each solved room rewarding 2-3 components. Unlike surface-scattered greens, these rooms require the grappling hook to rip sealed doors (triggering the "Forced Entry" achievement) and the scanner to locate hidden pressure plates. The two-room complex northwest of the Hydropost is the most efficient farm: completing its rotation puzzle takes roughly 4 minutes and yields a guaranteed Rare drop, making it superior to random rooftop scavenging in early zones.
Antenna Hacks and the SandWitch Signal in the Desert
The desert's three signal antennas are tied to the SandWitch mystery and the "Cyber Intrusion" achievement. Each hack requires a 3-step frequency match minigame, and completing all three reveals the location of the missing sister's crashed van. The first antenna sits atop the ruined observatory east of the Reinetos camp; hacking it unlocks a fast-travel beacon and marks two Uncommon component clusters on your map. Time your hacks after activating the emergency generator—powering the antenna grid halves the minigame's timing window, making the final hack significantly easier.
The desert is the only region where Exceptional components spawn, which makes it the endgame farming ground for players crafting the best upgrades. Understanding the spawn patterns saves you hours of wandering, because these rare materials only appear in specific conditions.
Exceptional components spawn in three fixed locations and one random location per in-game day. The fixed locations are the Sunken Amphitheater, the Buried Basilica, and a cave in the Eastern Canyon that requires the energy grapple to reach. The random spawn can appear at any of the nine ruins, which encourages full-region loops rather than camping a single spot.
| Component Tier | Desert Spawn Rate | Best Farming Route |
|---|---|---|
| Common | High everywhere | Any surface area |
| Uncommon | Medium | Old Quarry loop |
| Rare | Low | Violet Basin + Reservoir |
| Exceptional | Very low | Full ruin circuit |
The full ruin circuit takes roughly 45 minutes with the upgraded van, and it yields an average of one Exceptional component per loop, based on community reports. The circuit starts at the Oasis Settlement, heads north to the Solar Array, follows the ridge east to the Observatory, drops down to the Ruin Corridor, and loops south through the Salt Flats before returning. This route also passes all three fuel stations, so you never risk running dry.
The Salt Flats deserve a special mention because they contain the highest density of Common components in the desert, making them ideal for players who need bulk materials for crafting. The white surface makes components easy to spot, and the flat terrain lets you drive at full speed while scanning. A single pass across the flats yields roughly 15 to 20 Common components, according to player testing.
The Old Quarry is the best Uncommon component farm because it has a dense cluster of spawn points in a small area. The quarry's layout creates a natural loop that takes about five minutes to complete, and each loop yields three to five Uncommon components. The quarry also contains a lore terminal that explains why the ancient civilization abandoned the site, which adds context to the region's history.
For the Caravan SandWitch area walkthrough completion, you should also check the three viewpoints scattered across the desert. These are marked by small stone platforms with a telescope, and interacting with each one triggers a short animation that reveals nearby hidden caches. The viewpoints are not marked on the map, so finding them requires exploring the high ground around the Dune Belt, the Eastern Canyon rim, and the hill north of the Salt Temple.
Frequently Asked Questions
What is the fastest way to reach the desert in Caravan SandWitch?
The desert unlocks during Chapter 2 after you complete the main story quest at the Hydropost. Head south from the Residential Area through the canyon passage, then follow the road until you reach the Oasis Settlement. The journey takes about 10 minutes with the stock van, assuming you do not stop to collect components along the way.
How many ruins are in the Caravan SandWitch desert?
There are nine major ruins in the desert region, each with unique rewards and puzzle mechanics. The Sunken Amphitheater, Salt Temple, Broken Aqueduct, Windmill Ruin, Observatory, Old Quarry, Signal Tower, Buried Basilica, and Reservoir complete the set. Visiting all nine unlocks an achievement and reveals the full desert map.
Can I reach the desert without the upgraded suspension?
Yes, but it is significantly slower. The stock suspension sinks into soft sand, cutting your speed by roughly half in the Dune Belt. You can still cross by following the compacted ridge lines, but expect the journey to take twice as long. The suspension upgrade costs 25 Common and 10 Uncommon components.
Where do Exceptional components spawn in the desert?
Exceptional components spawn at three fixed locations: the Sunken Amphitheater, the Buried Basilica, and a cave in the Eastern Canyon. One additional Exceptional component spawns at a random ruin each in-game day. The full ruin circuit takes about 45 minutes and yields an average of one Exceptional component per loop.
Are the desert locations inspired by real places?
Yes. Studio Plane Toast built Cigalo's desert from Provence, France. The Sunken Amphitheater mirrors Arles' Roman arena, the Broken Aqueduct resembles the Pont du Gard, and the Eastern Canyon echoes Marseille's Calanques cliffs. This design philosophy is confirmed on the official website, so exploration rewards architectural recognition.