
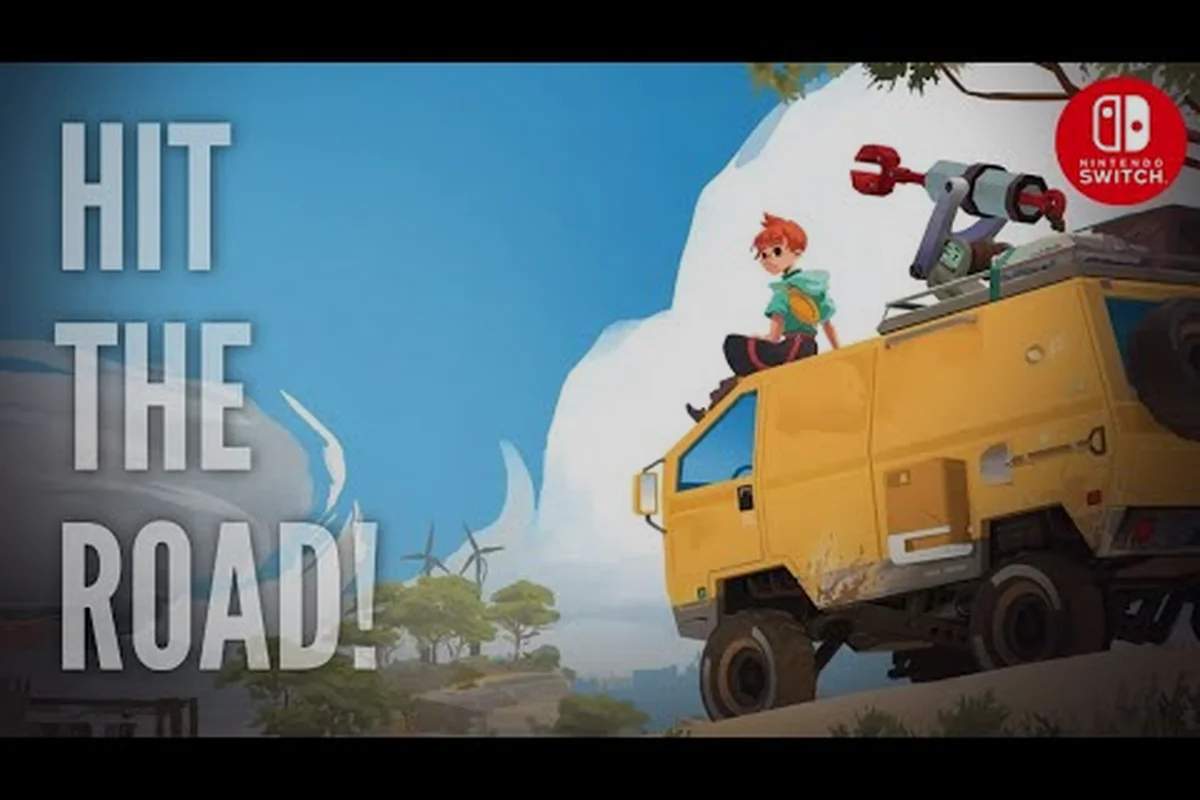
Getting lost on the planet Cigalo is the fastest way to stall your search for Garance, which is why this Caravan SandWitch navigation guide breaks down how to read the map, unlock new regions, and lean on NPCs to keep momentum. The game never forces a linear path, so knowing which tools and community tasks matter most will save you hours of wandering. By the time you finish reading, you will know exactly how to reach every area without frustration.
How the Caravan SandWitch navigation guide reads the map
The world of Cigalo is a handcrafted, Sci-Fi Provence-inspired landscape where landmarks matter more than grid coordinates. Unlike open-world games that shower you with icons, this one expects you to observe your surroundings, scan antennas, and piece together routes from environmental clues. The map itself is diegetic, meaning it reflects what your character knows rather than showing every secret from the start.
Your primary navigation tools arrive through van upgrades and story progression. The antenna scan reveals points of interest in a radius around your position, while the energy grapple lets you cross gaps that would otherwise block your path. According to the official Caravan SandWitch website, four groups live on Cigalo: the Reinetos, leftover robots, humans who stayed behind, and the mysterious SandWitch. Each group opens different interaction opportunities that feed back into navigation.
Here is what the map actually tells you at each stage: after you activate a Vigil Tower, the fog of war lifts only within that tower's immediate radius, so the icon clusters you see are a mix of discovered Vigil Towers, undiscovered Relay Antennas, and the glowing blue markers for community tasks like the missing water pump or the broken wind turbine. Crucially, the map does not mark elevation changes or canyon walls, so a straight line to a quest marker often dead-ends at a cliff face—you must read the terrain contours and look for the winding dirt paths that connect the plateau settlements, which is why your Caravan SandWitch progression guide should always prioritize unlocking the northern towers first to reveal the full road network before attempting any long-distance fetch quests.
-
Discovered landmarks appear as named locations once you physically reach them, which then become fast travel anchors.
-
Quest markers only show when you have active objectives, so talking to NPCs regularly keeps your map relevant.
-
Resource nodes for components are not marked until you scan nearby antennas, encouraging deliberate exploration.
-
Van upgrade stations appear as distinct icons once you unlock the corresponding blueprints through community tasks.
The scanning mechanic is your best friend early on. Each antenna you hack reveals a cluster of nearby points, and the range increases as you upgrade your scanner. Players who ignore this step often miss critical component caches that gate van upgrades, creating a frustrating progression loop. Make scanning a habit every time you enter a new zone, because the game rewards thoroughness with both resources and new route options.
Reaching areas with the right van upgrades
Your van is more than a vehicle; it is the key that unlocks the entire map. The Caravan SandWitch progression guide hinges on upgrading your van in a specific order to avoid backtracking. Components come in four rarity tiers, and each tier becomes more common as you unlock new tools and regions, so you should not grind for rare parts early when common ones will do.
The upgrade path follows a clear logic that matches the terrain you will encounter: early modules prioritize the Hover Boost and Extended Fuel Tank to clear the cracked plateaus of the Verdant Reach, while mid-game unlocks like the Grappling Hook and Climbing Gear are essential for scaling the vertical cliff faces of the Sunken Spire. This progression isn't arbitrary—each upgrade directly counters a specific environmental hazard, so investing in the Radiation Shielding before venturing into the Scorchlands prevents costly repair detours, and the Cargo Winch becomes mandatory for hauling the 200kg salvage crates required by the Porta Fidei community tasks, ensuring you never backtrack for a missed interaction.
| Van Upgrade | Unlock Condition | Navigation Benefit |
|---|---|---|
| Energy Grapple | Story chapter 1 | Cross chasms, reach elevated ruins |
| Scanner Boost | Community task reward | Reveal more points per antenna scan |
| Sand Skimmer | Story chapter 2 | Traverse desert zones without damage |
| Hover Module | Rare components | Float over water and broken bridges |
| Speed Thruster | Endgame task | Reach timed platforming sections |
The energy grapple deserves special attention because it changes how you approach verticality. Early areas hide components on rooftops and ruined towers that are unreachable on foot, and the grapple turns those into quick detours rather than dead ends. Community reports on Steam Community confirm that most players who feel stuck simply missed a grapple point that was visible but not obvious.
Desert zones, which unlock in Chapter 2, demand the Sand Skimmer upgrade before you can explore them safely. Without it, the environment damages your van and forces constant repairs that drain components. If you want a complete breakdown of what waits in those sandy regions, the desert locations guide covers every ruin and hidden cache in detail. Plan your upgrade order around the next region you intend to explore, because each zone expects a minimum toolset.
NPC interaction guide for navigation shortcuts
Using antenna scans to unlock fast travel nodes
Each antenna scan reveals surrounding points of interest and activates nearby fast travel anchors, but the Cyber Intrusion achievement confirms you must hack antennas first via the interaction prompt. Prioritize scanning antennas in the Residential Area and Hydropost before tackling desert regions, since scans there expose Exceptional component locations that remain invisible otherwise. Pair each scan with a zipline check—Learning the Ropes triggers on your first zipline, and ziplines often connect scanned ruins to fast travel points, letting you chain movement without burning fuel.
Community task rewards that unlock story-blocked roads
Sauge leaves for TARAASK with Rose at the point of no return (Rescue Plan achievement), which permanently locks certain side tasks. Complete community tasks in the Residential Area before this trigger, as they reward components and antenna hacks that open story-blocked passages. Specifically, tasks tied to Reinetos settlements grant Exceptional components needed for the final van upgrade; missing these pre-TARAASK forces a second playthrough for 100% achievement completion. Prioritize any task showing a purple hexagon icon on the map before advancing the main quest.
NPCs on Cigalo are not just flavor text; they directly influence how you move across the map. The Caravan SandWitch NPC interaction guide reveals that many shortcuts, fast travel points, and even entire regions only open after you complete specific character requests. The Reinetos in particular hold knowledge about ancient routes that the map does not display until they trust you.
Interaction works on a simple but effective loop: listen to their stories, accept their community tasks, and return when done. Each completed task strengthens your relationship, which unlocks new dialogue options and, more importantly, new map data. Some NPCs will mark hidden locations on your map after you help them, while others repair broken bridges or activate old elevators that create faster paths.
NPC interactions in Caravan SandWitch break down into three distinct groups that directly affect your navigation shortcuts: the Recolters, who trade map fragments for salvage materials and unlock fast-travel beacons; the Cigale settlers, whose side tasks reveal hidden canyon passages and collapsed bridge routes; and the roaming merchants, who sell compass upgrades that mark nearby undiscovered landmarks. Prioritize Recolter quests first, since their map fragment rewards permanently reduce travel time across the desert, while Cigale tasks are best saved for mid-game when you have the grapple upgrade to reach their remote camps.
-
Reinetos elders reveal ancient ruin locations and teach you about SandWitch lore that hints at hidden areas.
-
Settled humans run the upgrade stations and trade components for blueprints, so keeping them happy expands your van capabilities.
-
Abandoned robots often need simple repairs, and fixing them grants access to automated transport routes.
-
Traveling merchants sell map fragments that permanently reveal sections of unexplored territory.
The community tasks system is the backbone of this interaction loop. These are optional objectives that range from delivering supplies to activating old machinery, and they consistently reward you with navigation-critical items. A full walkthrough posted by Stantin Gaming on Steam Community notes that completing community tasks before advancing the main story makes later chapters significantly smoother because you already have the tools those regions demand.
Prioritize tasks that reward map fragments and scanner upgrades above all else. These directly reduce the time you spend wandering, which matters because the game has no combat and no death, so exploration is the entire gameplay loop. If you find yourself circling the same area without progress, check your active tasks and talk to every NPC in your current hub, because one conversation often unlocks the next step.
How to reach areas blocked by story progression
Reading component rarity tiers to plan your route
Common (green) components cluster in early zones like Estello Village, Rose's Retreat, and Hydropost, while Rare (yellow) pieces only spawn inside puzzle rooms and Exceptional (purple hexagons) are exclusive to the desert area unlocked in Chapter 2. Before setting out, cross-reference the map's antenna scans against these tiers: if your current van lacks the energy grapple, skip desert waypoints entirely and farm Uncommon (red) components from old vehicles and robots instead. This routing prevents wasted trips to unreachable purple nodes.
Grappling hook shortcuts versus van detours
The Forced Entry achievement (first door ripped with grappling hook) signals a core navigation shortcut: many locked doors bypass entire mountain switchbacks. Compare a grappling hook door near Rose's Retreat against the van route—the door cuts roughly 400 meters of driving, but requires parking and climbing. For desert areas, however, the energy grapple (Emergency Generator achievement) is mandatory for power nodes, making van upgrades non-optional. Use the hook for vertical shortcuts in early zones, but reserve it for puzzle rooms in Chapter 2 where Rare components hide behind ripped doors.
| Component Rarity | Color | Typical Locations | Tools Required | Unlock Timing |
|---|---|---|---|---|
| Common | Green | Ground, rooftops, ruins (Estello Village, Rose's Retreat, Hydropost) | None | Start of game |
| Uncommon | Red | Old vehicles, robots | Standard van tools | Early game |
| Rare | Yellow | Puzzle rooms | Advanced tools | Chapter 2 (after desert unlocks) |
| Exceptional | Purple hexagon | Desert area only | Advanced tools | Chapter 2+ |
Some regions on Cigalo remain locked until you hit specific story beats, and knowing which ones are gated prevents wasted trips. The Caravan SandWitch map guide distinguishes between areas that need upgrades and areas that need story progress, and confusing the two is a common source of frustration. The TARAASK facility, for example, only opens after a major story decision, while the desert zones just need the right van module.
Story-gated areas usually have a visual cue, like a sealed door or an impassable energy barrier, that no upgrade can bypass. When you encounter these, the game expects you to advance the main quest rather than grind for components. The achievement guide on Steam Community lists 26 achievements total, and several are tied to story progression, including the point of no return when Sauge leaves for TARAASK with Rose.
Use this reference to know what opens when: the story-locked gates in Caravan SandWitch don’t respond to the standard Salvage Tool or the Boost upgrade, but instead require specific quest triggers from the main storyline. For instance, the rusted blast door blocking the route to the Sunken Research Station only unlocks after you complete the “Signal Relay” community task for the Cato, which awards the Magnetic Keycard. Meanwhile, the collapsed tunnel toward the Northern Mesa clears only after the “Lost Drone” side quest, so check your quest log against this table before wasting fuel crossing the map.
| Area | Unlock Method | Required Chapter |
|---|---|---|
| Estello Village | Starting area, always open | Chapter 1 |
| Rose's Retreat | Main story visit | Chapter 1 |
| Hydropost | Energy grapple upgrade | Chapter 1 |
| Desert Wastes | Sand Skimmer upgrade | Chapter 2 |
| TARAASK Facility | Story decision, point of no return | Chapter 3 |
The point of no return deserves special attention because it locks you out of unfinished side content. Once Sauge leaves for TARAASK with Rose, you cannot go back to complete missed community tasks, so finish everything you care about before triggering that sequence. Players who rush the main story often miss the Cuddly Toys collectibles and several rare component caches that only appear after specific side quests.
If you want a broader view of how all regions connect, the world map guide provides a full breakdown of Cigalo's geography and how each zone links to the next. Understanding the layout before you set out reduces backtracking significantly, especially in the mid-game when multiple chapters are active simultaneously.
Community tasks and fast travel efficiency
Fast travel exists, but it is not free, and the Caravan SandWitch progression guide recommends using it strategically rather than habitually. Each fast travel point costs a small number of components, which are also your crafting currency, so excessive teleporting drains resources you need for van upgrades. The relaxing gameplay loop encourages walking or driving between nearby points, reserving fast travel for long-distance jumps across the map.
Community tasks often chain together in ways that make route planning worthwhile. A single loop can complete three or four tasks if you read the map correctly, which is why the interaction guide emphasizes accepting every task you find. The reward structure also compounds, because completing tasks raises your reputation with each faction, unlocking better rewards and more efficient travel options.
Before setting out, open your map and tag every active community task icon—especially the yellow exclamation markers tied to NPC requests—so you can chain them along a single route instead of backtracking across zones. Prioritize tasks clustered near fast travel pylons, since activating those pylons early cuts traversal time dramatically when you return for later progression steps.
-
Stack tasks by region — accept everything in one zone before moving on, then complete them in a single pass.
-
Scan antennas first — this reveals task locations and resource nodes, so you never travel blind.
-
Use fast travel only for cross-region jumps — short hops cost more than they save.
-
Return to hubs after major upgrades — new dialogue options appear when your van improves.
-
Check the map after every story beat — new tasks spawn in previously visited areas.
The game's no combat, no death, no timer design means you can take as long as you need, but efficiency still matters because components are finite until you unlock new regions. According to the Steam store page, the game holds a Very Positive rating with over 3,800 reviews, and many players praise the exploration loop for being relaxing rather than stressful. That said, even relaxed exploration benefits from a plan.
For a deeper look at how the map structure supports this pace, the map areas guide catalogs every named location and what you will find there. Pair that reference with this navigation guide, and you will always know where to go next without breaking the cozy atmosphere the game works so hard to create.
Frequently Asked Questions
What is the fastest way to unlock new areas in Caravan SandWitch?
The fastest path is upgrading your van in the correct order. Focus on the energy grapple first, then the scanner boost, and save rare components for the sand skimmer before Chapter 2. Complete community tasks as you go, because they reward map fragments and upgrade blueprints that accelerate exploration.
How do I find hidden components for van upgrades?
Scan every antenna you encounter, because each scan reveals nearby component caches. Common components appear on the ground and rooftops, while rare ones hide in puzzle rooms that require the energy grapple. The desert zone in Chapter 2 contains exceptional components, but only after you unlock the sand skimmer upgrade.
Do NPC interactions affect map navigation?
Yes, significantly. Completing community tasks for NPCs unlocks new dialogue, map data, and even repaired infrastructure like bridges and elevators. The Reinetos elders reveal ancient ruin locations, while traveling merchants sell map fragments that permanently reveal unexplored territory. Always talk to every NPC in a hub before leaving.
Is fast travel worth the component cost?
Fast travel costs a small number of components, which are also your crafting currency. Use it only for long-distance jumps across the map, not for short hops between nearby points. Walking or driving between close locations preserves resources for van upgrades, which ultimately unlock more areas than fast travel ever will.
What happens after the point of no return?
When Sauge leaves for TARAASK with Rose, you trigger the "Rescue Plan" point of no return and cannot return to Cigalo for missed community tasks or collectibles. Complete all Rare and Exceptional component gathering, plus Cuddly Toys, before this sequence. The game warns you, but rushing skips puzzle-room loot.