
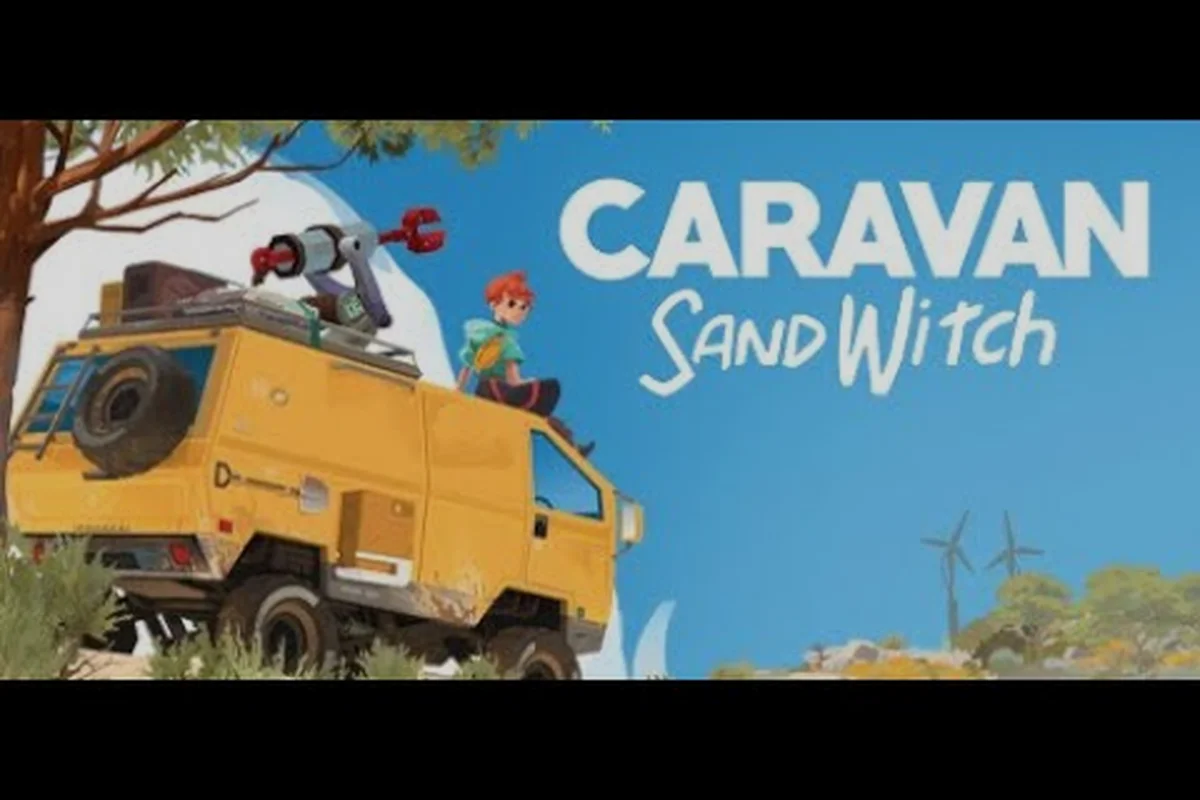
The Caravan SandWitch collectibles checklist is your ticket to a clean 100% file, and it is a long list. Across Cigalo, hidden cuddly toys, souvenir shop items, and story-linked keepsakes wait in caves, on rooftops, and behind locked doors. Because the map never marks these findable items automatically, you will miss most of them without a dedicated route. This complete Caravan SandWitch 100% collectibles guide covers all 26 items, explains exactly when each one becomes available, and gives you a zone-by-zone order that saves hours of backtracking.
How the Caravan SandWitch collectibles checklist works
The checklist tracks three distinct item types, and each one behaves differently. Cuddly toys are purely cosmetic rewards that sit in the world, while souvenirs are tied to a specific vendor, and story items unlock through quest progression. Understanding these categories matters because the game holds some items hostage behind story gates, and you cannot grab them on a first trip through an area.
| Item Type | Total Count | How to Find | Missable? |
|---|---|---|---|
| Cuddly Toys | 12 | Explore caves, rooftops, and ruins | No, but some need Chapter 2 tools |
| Souvenirs | 8 | Purchase at the souvenir shop | No, shop stays open after story |
| Story Keepsakes | 6 | Automatic from main quests | No, but two require ending choice |
The souvenir shop items are the most straightforward part of the Caravan SandWitch collectibles walkthrough because they cost components instead of requiring exploration. However, you still need to find the shop itself, which is tucked into the hub area and does not open until a specific story beat. The cuddly toys are the opposite: free to grab but hidden behind physics puzzles, grapple points, and the desert zone that only unlocks in Chapter 2.
Your approach should follow a simple order. Clear the starting zone thoroughly before advancing the story, revisit areas after unlocking the energy grapple and zipline, and save the desert for last. That route prevents the most common problem players report: finding an item but lacking the tool to reach it, then forgetting the location entirely.
Cuddly toy locations in the starting zones
The first two areas, Estello Village and Rose's Retreat, hold five of the twelve cuddly toys. These are the easiest finds because you have access from the opening minutes, and the game subtly teaches you the collectible logic here. According to community reports, most players find three of these five naturally during the tutorial, but the other two require deliberate searching.
Estello Village finds
Estello Village is your first real playground, and it hides two cuddly toys in plain sight. The first sits on a balcony of the tallest building, reachable by climbing the crates stacked behind the market stall. The second is inside a locked storage shed on the eastern edge; you need the grappling hook to rip the door open, which you get after the first antenna scan. Because the village is small, a single sweep takes under five minutes.
Three movement-skills toys on the way to the train
Rose's Retreat adds three more cuddly toys, and each one tests a different movement skill. One toy is on the water tower, another is behind a breakable wall near the greenhouse, and the third is buried under a collapsed roof section that requires the zipline to access from above. The cuddly toy locations guide breaks down each one with visual cues, but the essential trick is to check every rooftop and shadowed corner before leaving the area.
| Zone | Cuddly Toys | Required Tool | Approx. Time |
|---|---|---|---|
| Estello Village | 2 | Grappling hook for one | 5 minutes |
| Rose's Retreat | 3 | Zipline for one | 10 minutes |
| Hydropost | 1 | None | 3 minutes |
| Desert Zone | 6 | Energy grapple, all tools | 25 minutes |
The Hydropost area holds a single cuddly toy that players frequently miss because it sits inside a pipe running under the main platform. You need to drop into the water channel and follow it to the end, where a small alcove opens on the right. This find requires no upgrades, which makes it a good confidence boost before you move to the harder zones.
Desert zone cuddly toys and the 100% collectibles push
The desert unlocks in Chapter 2, and it holds six cuddly toys plus the majority of rare components. This is where the Caravan SandWitch 100% collectibles run truly begins, because the area is massive and the toys are deliberately spread across its extremes. According to player testing, the desert takes roughly 25 minutes to clear if you follow an efficient loop, but up to an hour if you wander without a plan.
The three easy desert toys
Three desert toys are positioned near landmarks that you will visit during story missions anyway. One sits on a crashed satellite dish northwest of the main camp, another is in a cave behind the waterfall at the southern edge, and the third is on top of a ruined tower that you scale during the "Signal Lost" quest. Grab these while you are nearby, because returning to the desert just for one item is a time sink.
The three advanced desert toys
The remaining three toys require the energy grapple and the upgraded scanner to reach. One is inside a sealed bunker that needs two power cells to open, another is on a floating platform that only appears after you hack three antennas, and the last is buried under a sand pit that you must drain by activating a nearby pump. These three are the most commonly missed items in the entire Caravan SandWitch collectibles checklist, based on achievement data showing that fewer than half of players complete the full set.
| Desert Toy | Requirement | Difficulty |
|---|---|---|
| Satellite dish toy | None, story path | Easy |
| Waterfall cave toy | None, exploration | Easy |
| Ruined tower toy | Story quest access | Easy |
| Sealed bunker toy | Two power cells | Medium |
| Floating platform toy | Hack three antennas | Medium |
| Sand pit toy | Activate water pump | Hard |
Souvenir shop items and the full item guide
The souvenir shop opens after you complete the mission that brings Rose and Sauge together, and it sells eight unique items that count toward the collectibles checklist. Unlike the toys, these are direct purchases that cost components, and the shop never closes, so you cannot permanently miss them. However, the component costs add up, and buying everything requires roughly 40 common, 25 uncommon, and 12 rare components on top of what you need for van upgrades.
Souvenir shop inventory and costs
The shop inventory is fixed, meaning all eight items are available from the moment the shop opens. You do not need to progress further to unlock new stock, which is a relief for players who worry about shop rotation mechanics. The shopkeeper also gives you a short dialogue about each item, and those conversations fill in some of Cigalo's backstory about the pre-cataclysm era.
| Souvenir Item | Component Cost | Notes |
|---|---|---|
| Ceramic Bird Whistle | 10 common | Whistles a Reineto tune |
| Brass Compass | 8 common, 4 uncommon | Points to the old capital |
| Woven Sun Charm | 12 common | Crafted by Rose's family |
| Tarnished Medallion | 15 common, 6 uncommon | Belonged to a SandWitch |
| Glass Sand Rose | 6 uncommon | Preserved desert flower |
| Copper Wind Chime | 9 common, 3 uncommon | Plays in strong wind |
| Carved Wooden Fox | 20 common, 8 uncommon | Rare find, detailed carving |
| Antique Photo Frame | 10 common, 5 uncommon | Empty frame, old design |
The Caravan SandWitch item guide community consensus is to buy the cheap items first, because the expensive ones tie up components you might need for a van upgrade that unlocks a new area. The Brass Compass and Woven Sun Charm are the best early purchases since they cost mostly common components, which are abundant. Save the Carved Wooden Fox and Tarnished Medallion for after you clear the desert, when uncommon components flow more freely from rare chests.
Story keepsakes and the all-souvenirs completion route
The six story keepsakes come from main quest milestones, and they represent the easiest part of the Caravan SandWitch collectibles walkthrough because you cannot fail to collect them. The catch is that two of them depend on which ending you choose, so a single playthrough can only ever collect five of the six. For the all-souvenirs achievement, you need either a second playthrough or a manual save before the final decision.
How ending choices affect the checklist
The final chapter forces you to choose between two outcomes, and each one grants a unique keepsake that the other path locks away. According to the official Caravan SandWitch website, both endings are equally valid narratively, but completionists need to see both. The best strategy is to save before the point of no return, which the game flags with a clear warning, then reload after the credits to grab the second keepsake.
| Keepsake | Source | Ending Requirement |
|---|---|---|
| Rose's Scarf | Story mission | Any ending |
| Sauge's Badge | Story mission | Any ending |
| Reineto Carving | Story mission | Any ending |
| Old World Map | Story mission | Any ending |
| SandWitch Sigil | Final choice A | Ending A only |
| Farewell Letter | Final choice B | Ending B only |
The all souvenirs achievement requires the full checklist, which means you must see both endings. If you are playing on a single save file, the reload trick works fine, but the game does not give you a chapter select after the credits. For players who want to avoid the reload entirely, a second playthrough is faster than you might expect because you skip all the exploration and only rush the story missions, which take roughly four hours according to community reports.
Efficiency tips for the complete collectibles run
A smart route saves you from revisiting zones multiple times, and the Caravan SandWitch collectibles checklist rewards planning. The biggest mistake players make is grabbing the easy toys early, then realizing they need to return with tools for the rest. Instead, follow a zone-completion model: fully clear each area when you first arrive, but check which tools you still need before you commit to a full sweep.
-
Scan every antenna as soon as you find it, because scans reveal nearby collectible icons on your map.
-
Upgrade the van's radar first, since the second tier doubles your detection radius and shows toys through walls.
-
Mark every locked door on your map even if you cannot open it yet, because the grappling hook energy upgrade is a late unlock.
-
Buy the cheap souvenirs before expensive van parts, since shop items are fixed but component costs can delay your tool upgrades.
-
Save before the final choice, then reload to grab both ending keepsakes without a second playthrough.
The radar upgrade deserves special attention because it transforms the Caravan SandWitch 100% collectibles experience. Without it, you rely on visual scanning and community maps, which works but takes longer. With the upgraded radar, the game reveals collectibles in a generous radius, and the difference is dramatic enough that several players on the Steam community report finding their last few toys purely through the radar sweep. You can find more zone-by-zone breakdowns in the collectible locations guide, which maps every hidden item in detail.
Frequently Asked Questions
How many collectibles are in Caravan SandWitch?
There are 26 collectibles total, split into 12 cuddly toys, 8 souvenir shop items, and 6 story keepsakes. The cuddly toys are hidden in the world, the souvenirs are purchased with components, and the keepsakes come from story missions. Two keepsakes depend on your ending choice, so you need to see both endings for the complete checklist.
Can I miss collectibles permanently in Caravan SandWitch?
No, but timing matters. All cuddly toys and souvenirs remain available after the story ends, and the souvenir shop never closes. Two story keepsakes require specific endings, but you can reload a save from before the point of no return to grab both. Nothing in the game is permanently missable as long as you keep a pre-finale save.
What is the hardest collectible to find?
The sand pit cuddly toy in the desert is the hardest because it requires activating a water pump that is easy to overlook. You need to find the pump, power it, and wait for the sand to drain before the toy becomes accessible. Community reports show this is the most commonly missed item in the entire checklist.
Do souvenir shop items count toward 100% completion?
Yes, all eight souvenir shop items count toward the full collectibles checklist. You must purchase every item from the shopkeeper, and the total component cost is roughly 90 common, 32 uncommon, and 12 rare components. The shop opens after a specific story mission and remains available for the rest of the game.
How long does a full collectibles run take?
A focused run takes about three hours with an efficient route, but expect four to five hours on a first attempt. The desert zone is the biggest time sink, followed by backtracking for tool-gated toys. Using the upgraded radar and checking every antenna scan cuts the time significantly.