
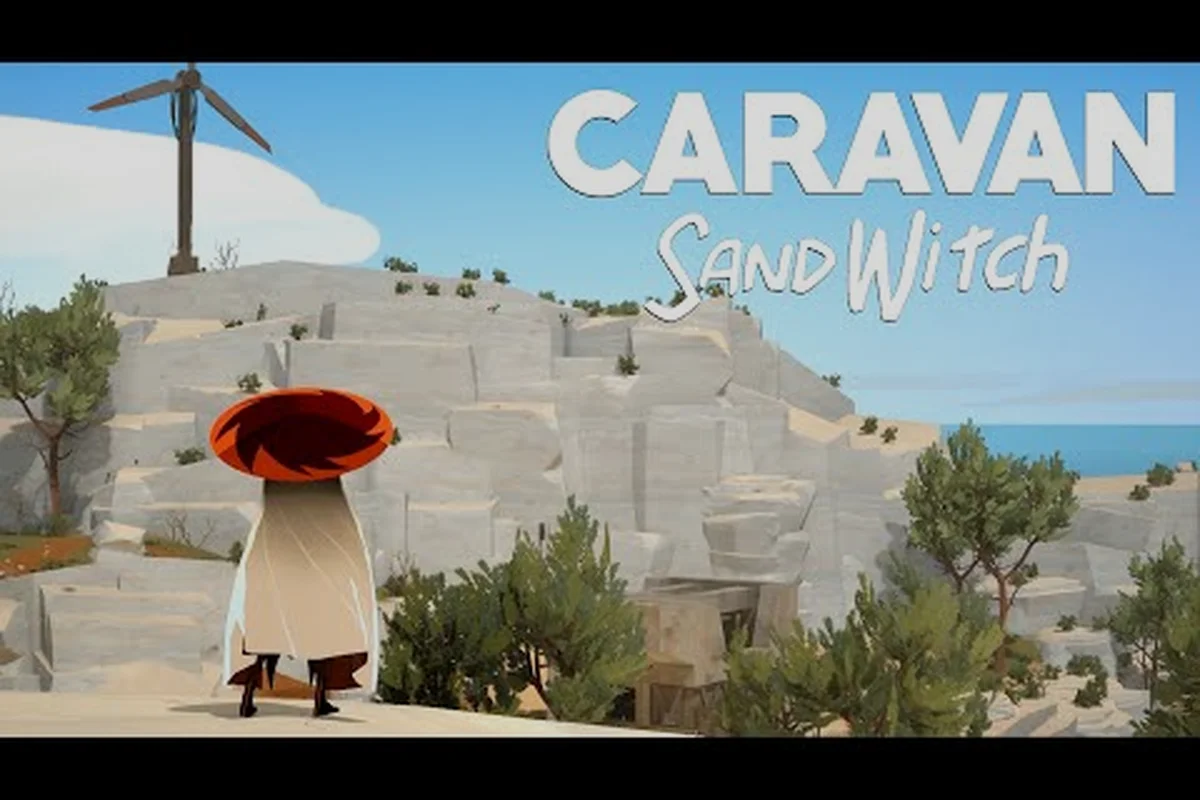
The Caravan SandWitch collectible items guide you are about to read consolidates every treasure location and hidden cuddly toy spot across Cigalo, saving you hours of aimless wandering through the Sci-Fi Provence-inspired landscapes. Because Studio Plane Toast designed this world with layered verticality and tucked-away ruins, most players miss roughly a third of the collectibles on their first pass without a structured approach. This guide breaks down each region, explains the component rarity tiers, and gives you a practical route order that aligns with your van upgrades.
What counts as a collectible: the two item families
Before you start sweeping every rooftop and canyon, you need to understand what actually counts as a collectible in Caravan SandWitch. The game separates its hidden items into two main categories: components (the crafting currency) and cuddly toys (the cosmetic souvenirs tied to achievements). Each type behaves differently in terms of spawn logic, visibility, and the tools required to reach them.
Components come in four distinct rarity tiers, and knowing them helps you prioritize your exploration time. According to community reports and the official Caravan SandWitch website, the breakdown works like this:
| Rarity Tier | Color | Typical Locations | Tools Needed |
|---|---|---|---|
| Common | Green | Ground level, rooftops, early ruins | None |
| Uncommon | Red | Old vehicles, robot husks, elevated ledges | Grappling hook |
| Rare | Yellow | Puzzle rooms, sealed containers | Energy grapple |
| Exceptional | Purple | Desert area only, hidden caches | All upgrades |
The Common components are everywhere, especially around Estello Village, Rose's Retreat, and Hydropost in the opening hours. You will naturally collect dozens of these just by following the main story, so do not stress about hunting every single one. The Uncommon tier requires a bit more effort because the grappling hook is essential for reaching the elevated platforms where they usually sit.
Rare and Exceptional components demand the most investment because they appear only after you unlock the desert region in Chapter 2. The Exceptional purple hexagons are particularly valuable since they let you craft the highest-tier van upgrades, and players report that they are always hidden inside environmental puzzles rather than sitting in plain sight.
Treasure Locations in the Early Game Zones
The first few hours of Caravan SandWitch take place across three connected zones: Estello Village, Rose's Retreat, and Hydropost. These areas serve as your training ground for spotting hidden collectibles, and they contain a surprising number of treasures that many players miss because they rush toward the next story marker.
Estello Village Rooftop Circuit
Estello Village is the most densely packed early zone for hidden collectibles. The rooftops form a connected circuit that you can traverse with the grappling hook, and each building hides at least one component. Start at the windmill near the village entrance, then work clockwise around the plaza. The green Common components sit on window ledges and chimney tops, while the red Uncommon components require you to climb the bell tower and swing across to the adjacent structure.
The waterfall cave hidden behind Rose's Retreat
Rose's Retreat introduces the first real verticality challenge. Behind the main building, a waterfall hides a small cave entrance that is easy to overlook because the water texture blends with the rock wall. Inside, you will find a Rare yellow component guarded by a simple pressure-plate puzzle. Step on the plate, and a hidden compartment opens in the back wall. This is also where you will find your first cuddly toy, tucked behind a stack of crates on the upper ledge.
Hydropost Canal Sweep
Hydropost is the most industrial of the early zones, with canals and pipes crisscrossing the area. The collectibles here follow the water flow, so start at the southern intake gate and move north. Check every pipe junction because the developers placed Uncommon components on top of the valve wheels. The cuddly toy in this zone sits inside a flooded maintenance room that requires the energy grapple to open the sealed door.
| Zone | Common Components | Uncommon Components | Cuddly Toys |
|---|---|---|---|
| Estello Village | 14 | 6 | 1 |
| Rose's Retreat | 9 | 4 | 1 |
| Hydropost | 11 | 5 | 1 |
These early zones also teach you the scanning mechanic that makes treasure hunting much easier. When you activate the antenna scan, nearby collectibles appear as glowing markers through walls, but only within a limited radius. Use this before you leave each zone, because the scan radius expands with the van upgrade and you can catch anything you missed on the first pass.
Desert Region Hidden Collectibles and Advanced Tools
The desert region unlocks in Chapter 2 and completely changes the collectible hunting dynamic. This is where the Exceptional purple components appear, and where the cuddly toys become significantly harder to find because they are buried or hidden inside complex puzzle chambers. The desert also has the largest map area, which means you need a systematic route to avoid backtracking.
The desert introduces three new mechanics that affect collectible hunting: sandstorms that obscure visibility, underground tunnels that connect distant areas, and ancient ruins that require the energy grapple to power up. According to the Caravan SandWitch 100% Achievement Guide on Steam Community, the desert contains 22 components and 4 cuddly toys, making it the most collectible-dense region in the game.
Sandstorm Navigation Route
When a sandstorm hits, visibility drops to near zero, but the collectibles do not disappear. Use the compass at the top of the screen to maintain your bearing, and listen for the audio cue that plays when you are near a hidden item. The Exceptional purple components are always inside structures rather than out in the open, so head for the nearest ruin cluster during a storm rather than trying to cross open ground.
Underground Tunnel Network
The desert tunnels connect the major ruins and hide several Rare components in side chambers. You need the energy grapple to activate the power nodes that open the tunnel entrances, so do not attempt a full sweep until you have that upgrade. Once inside, check every dead-end corridor because the developers placed at least one component at each terminus. The tunnel network also contains one cuddly toy, hidden behind a breakable wall that you must smash with the van.
| Desert Sub-Area | Components | Cuddly Toys | Puzzle Complexity |
|---|---|---|---|
| Northern Ruins | 7 | 1 | Medium |
| Central Canyon | 6 | 1 | High |
| Southern Wastes | 5 | 1 | Low |
| Underground Tunnels | 4 | 1 | High |
The desert cuddly toys are the most rewarding because they unlock the "Toy Collector" achievement when you gather all of them. Players report that the Southern Wastes toy is the easiest to miss because it sits inside a small alcove that looks like a dead end, but a hidden path opens when you scan the wall with the antenna.
Cuddly Toy Guide: Every Location and How to Reach It
The cuddly toys are the most sought-after collectibles because they serve no gameplay function beyond cosmetics and achievements, which makes them pure bragging rights. There are 12 cuddly toys total across Cigalo, and each one sits in a location that requires at least one tool or puzzle solution to reach. This section serves as your complete cuddly toy guide, breaking down every spot by region and difficulty.
| Toy Number | Region | Difficulty | Key Requirement |
|---|---|---|---|
| 1 | Estello Village | Easy | Rooftop climb |
| 2 | Rose's Retreat | Easy | Cave entrance |
| 3 | Hydropost | Medium | Energy grapple |
| 4 | Desert Northern Ruins | Medium | Puzzle chamber |
| 5 | Desert Central Canyon | Hard | Sandstorm timing |
| 6 | Desert Southern Wastes | Easy | Hidden alcove |
| 7 | Desert Tunnels | Hard | Breakable wall |
| 8 | Mountain Pass | Medium | Zipline sequence |
| 9 | Coastal Cliffs | Hard | Vertical ascent |
| 10 | Abandoned Factory | Medium | Power activation |
| 11 | Forest Outskirts | Easy | Ground search |
| 12 | Final Area | Hard | Story progression |
The Mountain Pass toy requires a zipline sequence that connects three separate cliffs, and you must time your jumps carefully because the ziplines have a slight delay before they activate. The Coastal Cliffs toy is the hardest in the game because it requires a vertical ascent with the grappling hook, and one missed swing sends you back to the bottom. Players recommend saving before attempting this one.
For a more detailed breakdown of every toy location with screenshots and step-by-step navigation, check our complete cuddly toy locations guide. That guide covers the exact coordinates and visual landmarks for each toy, which helps when the in-game map is too vague to pinpoint the final few.
Optimizing Your Collectible Route with Van Upgrades
Your van is not just a mode of transportation; it is the key to reaching hidden collectibles efficiently. The van upgrades unlock new traversal options that directly affect which treasures you can access, so the order in which you upgrade matters. According to the full game walkthrough on Steam Community, the van upgrades follow a logical progression that aligns with the story chapters.
| Upgrade | Unlock Chapter | Collectible Impact |
|---|---|---|
| Grappling Hook | Chapter 1 | Reaches elevated platforms |
| Energy Grapple | Chapter 2 | Opens sealed doors, power nodes |
| Extended Scan | Chapter 2 | Larger collectible detection radius |
| Zipline Launcher | Chapter 3 | Crosses gaps, reaches high ledges |
| Sandstorm Shield | Chapter 3 | Navigate storms without damage |
The Extended Scan upgrade is the single most important tool for collectible hunting because it increases your detection radius by roughly 50 percent. This means you can sweep a larger area before moving on, and you will catch components that would otherwise sit just outside your scan range. Prioritize this upgrade as soon as you reach Chapter 2, even if it means delaying a story mission.
The Zipline Launcher in Chapter 3 opens up the Mountain Pass and Coastal Cliffs toys, which are inaccessible before that point. If you are following a completionist route, do not bother trying to reach those toys early because the game simply will not let you. Focus on the zones you can fully clear, then return to the hard-to-reach spots after the upgrade.
When you plan your route, use the collectibles checklist guide to track which items you have already grabbed. The checklist format makes it easy to spot gaps in your collection, and you can reference it while playing on a second monitor or your phone.
Area-by-Area Collectible Density Comparison
Not every area of Cigalo offers the same collectible density, and knowing where to focus your time makes a big difference in efficiency. The table below compares the total collectible counts across all major regions, based on community data gathered from multiple playthroughs and the achievement guide reports.
| Region | Total Components | Cuddly Toys | Time to Fully Clear |
|---|---|---|---|
| Estello Village | 20 | 1 | 45 minutes |
| Rose's Retreat | 13 | 1 | 30 minutes |
| Hydropost | 16 | 1 | 40 minutes |
| Desert Region | 22 | 4 | 2 hours |
| Mountain Pass | 10 | 1 | 35 minutes |
| Coastal Cliffs | 8 | 1 | 30 minutes |
| Abandoned Factory | 12 | 1 | 50 minutes |
| Forest Outskirts | 9 | 1 | 25 minutes |
| Final Area | 6 | 1 | 20 minutes |
The Desert Region clearly offers the best return on investment for collectible hunters, with 22 components and 4 cuddly toys packed into a single area. The Forest Outskirts is the least dense region, so you can clear it quickly without much planning. The Abandoned Factory takes longer than its component count suggests because the power activation puzzles force you to backtrack between rooms.
Players who want to maximize efficiency should clear the early zones first, then tackle the desert in one extended session, and finally mop up the remaining regions after unlocking the Zipline Launcher. This order minimizes backtracking because you will have all the tools you need by the time you reach the later zones. The all collectibles overview provides a broader look at how everything fits together if you prefer a top-down perspective before diving into individual regions.
Frequently Asked Questions
How many cuddly toys are there in Caravan SandWitch?
There are 12 cuddly toys total across Cigalo, distributed across nine distinct regions. The desert area contains the most with four toys, while most other regions have exactly one. Collecting all of them unlocks the Toy Collector achievement, which counts toward the 26 total achievements in the game.
Do I need all van upgrades to find every collectible?
Yes, because the grappling hook, energy grapple, and zipline launcher each unlock access to specific collectibles. The Coastal Cliffs and Mountain Pass toys require the zipline launcher from Chapter 3, while several desert components need the energy grapple. You cannot reach 100 percent collection without completing the main story upgrades.
What is the best order to collect items in each area?
Start with the antenna scan at the center of each zone, then work outward in a spiral pattern. This catches nearby collectibles first and reduces backtracking. For the desert, wait until you have the Extended Scan upgrade because the larger radius saves significant time across the vast map.
Are there any missable collectibles in Caravan SandWitch?
No, every collectible remains accessible after the story ends, and the game has no point of no return that locks you out of previous areas. However, the Final Area toy requires story progression to reach, so you cannot grab it early. You can freely explore all regions after completing the main campaign.
How do I track which collectibles I have already found?
The in-game map marks collected items with a checkmark, while antenna scans highlight nearby uncollected ones with a distinct glow. For 100% completion, pair this with the community checklist that logs every component and cuddly toy by region—especially useful for tracking Exceptional purple hexagons locked behind desert-area advanced tools in Chapter 2.