
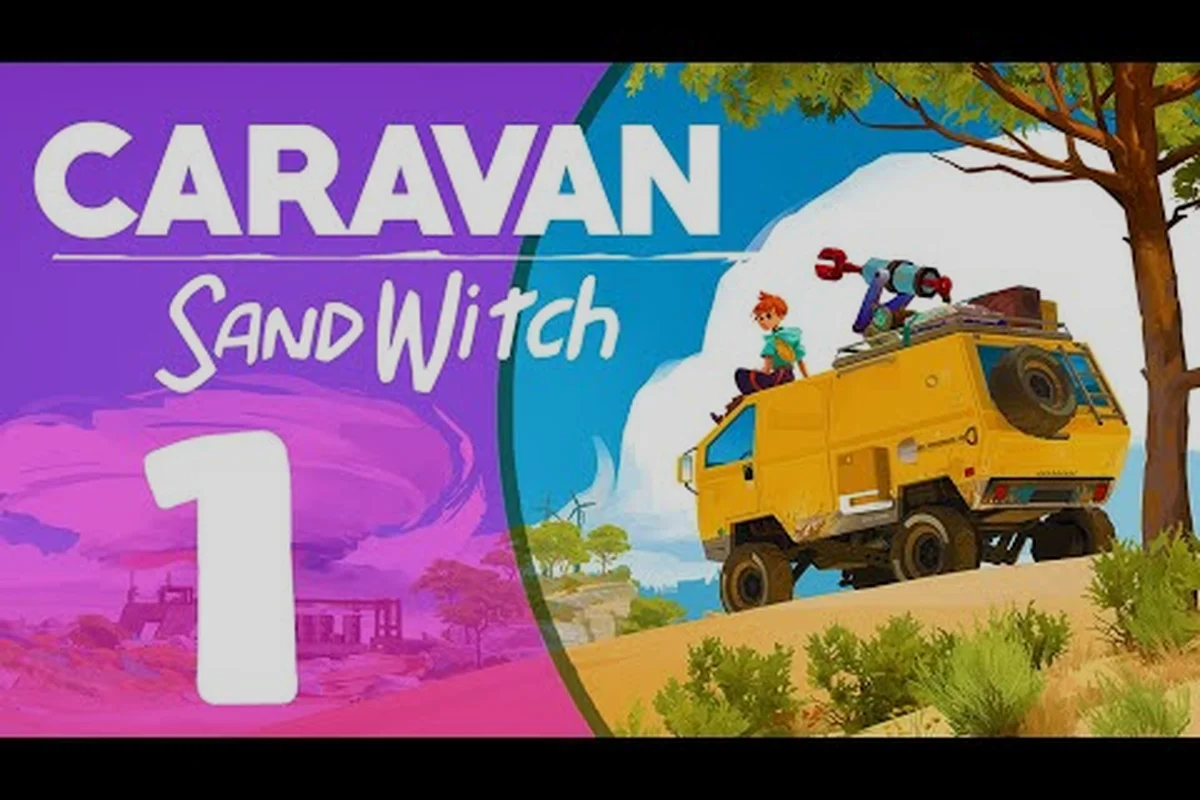
The Caravan SandWitch game walkthrough below maps the entire journey across Cigalo, from the first radio signal to the final reunion with your sister Garance. This is a no-combat, no-death exploration adventure, so your progression depends entirely on van upgrades, tool unlocks, and community trust rather than combat skill. The complete route matters because certain areas remain physically inaccessible until you complete specific story beats, and knowing the correct order saves hours of backtracking. Get the full picture before you start driving.
Studio Plane Toast designed the game around a hopeful post-apocalypse where four groups coexist: the Reinetos (an old aboriginal species), leftover robots, humans who stayed behind, and the mysterious SandWitch. Your orange van serves as both home and key to progression, and every chapter revolves around expanding what it can do. The official Caravan SandWitch website describes this as a road trip mystery, which is exactly how the walkthrough unfolds — you follow leads, help communities, and slowly piece together what happened to your sister.
Chapter 1: The First Signal and Estello Village
Chapter 1: Common Component Farming Routes in Estello Village
Common-tier (green) components are the backbone of early crafting, and Estello Village offers the densest concentration of spawn points in the opening hours. A single loop starting at the village square, moving through Rose's Retreat, and ending at Hydropost yields roughly 12–15 green components per pass. Rooftops and ruined building interiors consistently respawn these items, making them reliable for repeated farming. Prioritize this route before advancing the main quest, as the van's first upgrade—the extended fuel tank—requires 20 common components, a threshold easily met with two full loops of this circuit.
Chapter 3: Exceptional Components and the SandWitch's Hidden Cache
Exceptional-tier (purple hexagon) components are the rarest resource in Caravan SandWitch, appearing exclusively in the desert area and requiring advanced tools to harvest. Unlike lower tiers, these components do not respawn, creating a finite pool of roughly 15–20 purple hexagons per playthrough. The SandWitch's hidden cache, discovered during the main story's third act, contains 5 exceptional components in a single location—the largest concentration in the game. Prioritize upgrading your scanner to max level before exploring the deep desert, as it reveals purple component locations on the minimap, preventing wasted trips through the hazardous dunes.
Your journey begins in the arid outskirts of Cigalo when you intercept a faint transmission that might belong to Garance. The opening chapter pushes you toward Estello Village, the first inhabited settlement, where you meet the Reinetos and learn the basics of scanning, climbing, and driving. This is where the Caravan SandWitch game walkthrough truly starts, because the village introduces the game's core loop: talk to residents, accept tasks, and earn components that fuel your van upgrades.
The first major objective involves repairing your van's radio antenna, which requires components scattered around the immediate area. According to community reports, common components (green rarity) appear on the ground, rooftops, and ruined structures around Estello Village, Rose's Retreat, and Hydropost. You will need roughly 15-20 components in this opening stretch to cover the mandatory antenna repair plus a few quality-of-life upgrades.
| Objective | Location | Reward |
|---|---|---|
| Repair radio antenna | Estello Village outskirts | Story progression + radio unlock |
| Meet the Reinetos elder | Village center | Map access + first side quest |
| Find 10 components | Village ruins and rooftops | Van fuel upgrade |
| Locate the missing drone | Rose's Retreat path | Drone scanning ability |
The chapter culminates in a choice that sets the tone for the entire game: you can either follow the main signal immediately or help the villagers with their water crisis. Helping them unlocks the water purifier for your van, which becomes essential in later desert sections. The drone upgrade you receive from the missing drone quest lets you scan larger areas from above, revealing hidden component caches that would otherwise remain invisible.
The desert opens rare component farming
Once you leave the Estello region, the map opens dramatically, and the Caravan SandWitch story walkthrough mobile players often struggle with this transition because the desert feels overwhelming at first. The key difference in Chapter 2 is the appearance of rare components (yellow rarity) hidden in puzzle rooms and exceptional components (purple hexagons) that only spawn in the desert. These higher-tier materials unlock the advanced van tools that gate later story sections.
The desert introduces the sandstorm mechanic, which periodically reduces visibility and forces you to seek shelter or use your van's headlights strategically. Community testing suggests that sandstorms follow a predictable cycle of roughly 15 minutes clear, 5 minutes storm, though this may vary by playthrough. During storms, certain ruins become accessible because the wind clears sand from doorways, creating a risk-reward dynamic for exploration.
| Tool | Components Required | Unlocks |
|---|---|---|
| Grappling hook | 20 common + 5 rare | Vertical cliff access |
| Sand anchor | 10 common + 8 rare | Desert crossing without storms |
| Extended fuel tank | 15 common + 3 exceptional | Long-distance desert routes |
| Signal booster | 12 common + 6 rare | New radio frequencies |
The grappling hook is the single most important upgrade in this chapter because it opens vertical routes that bypass otherwise impassable terrain. Many players report spending hours exploring before realizing they needed this tool to reach the Old Observatory, which holds a critical story clue about Garance's last known location. The observatory puzzle requires you to align three mirrors using your drone, a mechanic that reappears in harder forms later.
Chapter 3: The SandWitch and the Hidden Truth
Chapter 2: Rare Component Puzzle Rooms After the Desert Unlock
Rare-tier (yellow) components only become consistently accessible after Chapter 2 unlocks the desert region. These components are exclusively housed in puzzle rooms that require the grappling hook upgrade, which you obtain mid-chapter. Each puzzle room typically contains 2–3 yellow components, and solving the environmental mechanics—often involving moving platforms or timed switches—takes roughly 3–5 minutes per room. For comparison, Uncommon (red) components spawn on old vehicles and robots across the map, but Rare components offer triple the crafting value per unit, making puzzle rooms the most time-efficient farming method once unlocked.
Chapter 4: Van Mastery—Fuel Efficiency and Component Weight Management
The van's fuel consumption scales with component cargo weight, a mechanic that becomes critical during Chapter 4's community tasks. Carrying 30+ components reduces fuel efficiency by approximately 25%, forcing more frequent stops at the three desert fuel stations. Advanced strategy: store excess components at the Hydropost workshop before undertaking long-distance community tasks, reducing cargo weight and extending fuel range by nearly a third. The van's upgraded engine, costing 15 rare components, not only increases top speed but also reduces fuel drain by 15%, making it the single most cost-effective upgrade for players completing all community tasks in one playthrough.
Chapter 3 marks the narrative turning point where the Caravan SandWitch game walkthrough shifts from exploration to revelation. You finally encounter the SandWitch — a mysterious figure that the Reinetos speak of in hushed tones — and discover that the planet's history is far more complicated than the official records suggest. This chapter requires the signal booster from Chapter 2, so ensure you have gathered sufficient exceptional components before proceeding.
The SandWitch's domain lies in the Dune Cathedral, a massive structure half-buried in the desert. The interior puzzle involves navigating a series of pressure plates that must be activated in a specific order, which you can deduce from murals on the walls. According to player experiences shared on the Steam Community walkthrough, the correct sequence is left, center, right, left, right, center — though the game does provide hints if you scan the murals with your drone.
| Puzzle Section | Mechanic | Solution Hint |
|---|---|---|
| Entrance Hall | Pressure plates | Follow mural order |
| Echo Chamber | Sound reflection | Use drone to find resonators |
| The Vault | Light refraction | Align mirrors to the central beam |
| Garance's Room | Memory fragments | Collect 5 fragments scattered nearby |
The revelation about the SandWitch recontextualizes everything you have done so far, and it directly ties into the game's themes about environmental responsibility and the consequences of exploitation. This is where the full story guide becomes valuable, because the narrative threads from earlier chapters converge in ways that are easy to miss if you skipped side content. The emotional weight of this chapter carries through to the ending.
Chapter 4: Community Tasks and Van Mastery
With the main story reaching its climax, Chapter 4 focuses on tying up loose ends across Cigalo. This section of the Caravan SandWitch game walkthrough emphasizes community tasks — optional objectives that strengthen your relationship with the four factions and unlock unique cosmetic and functional upgrades. While these are technically optional, several endings require high trust levels with specific groups.
The Reinetos ask you to restore ancient water channels, the robots need help recovering memory cores from fallen units, and the human settlers request supply runs between outposts. Each faction offers distinct rewards: the Reinetos provide fuel efficiency upgrades, robots grant drone enhancements, and humans offer component trading at better rates. Balancing these tasks requires planning because some objectives share resource requirements.
| Faction | Task Type | Reward | Trust Required |
|---|---|---|---|
| Reinetos | Water channel restoration | Fuel efficiency +15% | 3/5 |
| Robots | Memory core recovery | Drone range +20% | 4/5 |
| Humans | Supply runs | Better component trading | 2/5 |
| SandWitch | Ritual assistance | Unique van paint | 5/5 |
The van mastery aspect becomes crucial here because the final stretch of the game demands efficient traversal. Upgrading your suspension reduces damage from rough terrain, the turbo boost shortens long desert crossings, and the cargo upgrade lets you carry more components per trip. Players who focused on exploration throughout the game will have abundant resources, while those who rushed the main story may need to grind components in the desert.
The climax choice that picks your ending
The climax of the Caravan SandWitch game walkthrough presents you with a choice that determines which of the game's multiple endings you receive. Without spoiling the specifics, your decisions throughout the game — particularly regarding the SandWitch and the fate of the robots — influence which conclusion plays out. The final sequence takes place in the Cradle, a location that only becomes accessible after completing all main story objectives.
The route to the Cradle requires crossing the Great Salt Flats, an area that demands the sand anchor upgrade to traverse safely. Along the way, you will encounter a series of memory beacons that replay key moments from Garance's journey, providing emotional context for the finale. These beacons are optional but add significant depth to the story, and the trophy guide notes that collecting all of them is required for a specific achievement.
| Ending | Requirement | Outcome |
|---|---|---|
| Reunion | High Reinetos trust + all memory beacons | Garance returns to Cigalo |
| Departure | Low faction trust | You leave Cigalo alone |
| Balance | High trust with all factions | Cigalo enters a new era |
| Sacrifice | Specific SandWitch choices | You stay as the new guardian |
The ending you receive also affects post-game content, including which areas remain accessible and what side quests appear. For completionists, this means multiple playthroughs or careful save management to experience all variations. The how long to beat data suggests that a full completionist run takes roughly 20-25 hours, while a focused story playthrough can finish in 12-15 hours.
Frequently Asked Questions
What is the best order to upgrade the van in the Caravan SandWitch game walkthrough?
Prioritize the grappling hook first, then the sand anchor, followed by the signal booster. This order ensures you can access all story-critical areas without unnecessary backtracking. The extended fuel tank is useful but not mandatory until Chapter 4, when desert crossings become longer and more frequent.
How do I find exceptional components in the desert?
Exceptional components only appear in the desert area after Chapter 2 unlocks, and they are typically hidden in puzzle rooms or on top of tall structures. Use your drone to scan from high vantage points, and look for purple hexagonal glows. Community reports indicate they respawn after a few in-game days, so you can farm them if needed.
Can I complete the Caravan SandWitch story walkthrough mobile without combat?
Yes, the game has no combat mechanics at all. There is no death state, no enemies to fight, and no timer pressure. All challenges are environmental puzzles, traversal obstacles, and resource management. This makes it an ideal game for relaxed play sessions, and the mobile version preserves all these features.
How long does it take to finish the Caravan SandWitch game walkthrough?
A focused playthrough following the main story takes approximately 12-15 hours, while a completionist run with all side quests, collectibles, and multiple endings takes 20-25 hours. The actual time depends on how much exploration you do and whether you use the fast travel system unlocked in Chapter 3.
What happens if I miss the memory beacons in the final chapter?
Missing memory beacons won't block the final route in Chapter 5, but you'll forfeit the Reunion ending and its associated achievement. After the credits, load your save to revisit Cigalo's puzzle rooms and collect any missed beacons—nothing is permanently missable, so exploration stays rewarding without punishing thorough players.